
 Create a new data entry form
To get started with the extension, create a new or open a ready data entry form.
To create a data entry form, see the Building Data Entry Form side panel.
To work with a ready data entry form, see the Working with Ready Data Entry Form article.
Custom interface of data entry form:

Data entry form window in the view mode
Custom interface elements of data entry form
To set up the Interactive Data Entry Forms extension, use the Settings dialog box.
NOTE. The Settings dialog box is available only when a data entry form is opened for edit.
To open the Settings dialog box
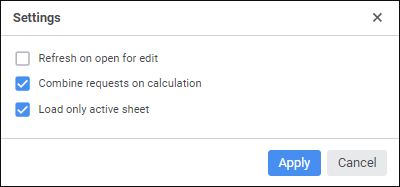
Available settings:
Combine requests on calculation
Show confirmation dialog box before saving and undoing data changes
See also:
Building Data Entry, Control and Approval Forms | Building Data Entry Form | Working with Ready Data Entry Form
 Create button in the main menu and select the object type on the
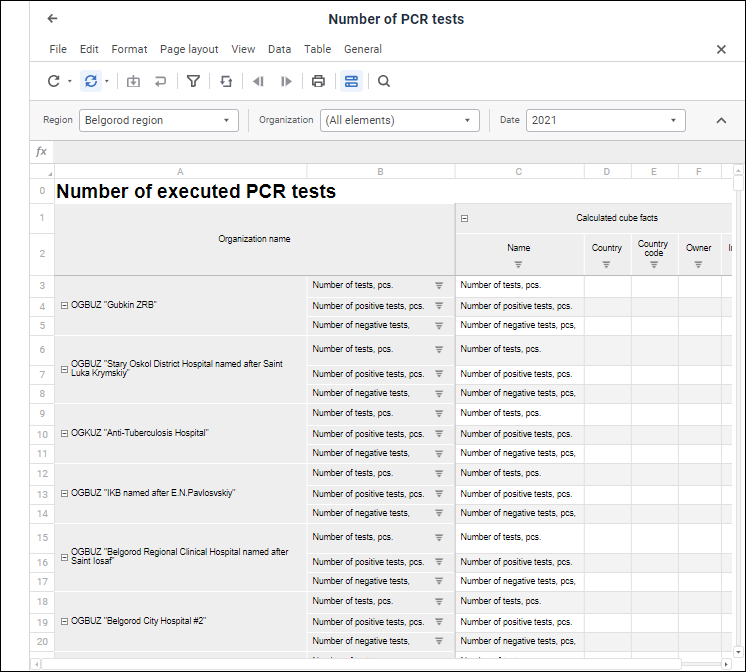
 Controls button is clicked on the Home toolbar tab.
 Find and Replace button is clicked on the Home toolbar tab.
 Settings button in the main menu.