use the popup panel with formatting settings.
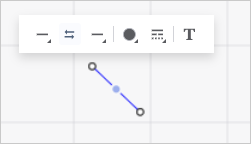
For a line:
For a shape/image:
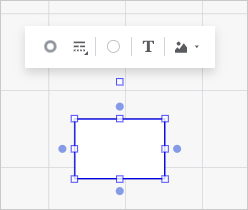
Set:

 Line parameters
 Start/
 Swap Places With button.
 Line Color button.
 Add Color button. The advanced color palette opens.
 No Color button.
 Set Up Line button:
 . Solid line.
 . Squared points.
 . Dashed line.
 . Dash-dot-dot-dashed line.
 . Dash-dot-dashed line.
 Border Color button.
Select the Format item in the object's context menu. In the Object Format dialog box, set up object formatting.
Go to the Format ribbon tab:

The Format tab contains the following formatting settings:
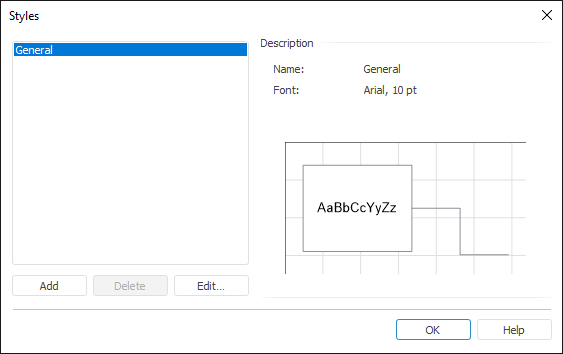
Style. It contains styles to set up object formatting.
Fill and Border. The group contains parameters for setting up line type, width and color, as well as setting up fill color.
Font. The group contains standard font settings: size, font family, font style, alignment and font color.