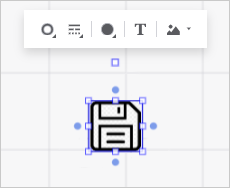
 Image in Shape button on the popup panel with formatting settings:
When working with workspace shapes one can add, delete, and set up image in a shape. To do this, use the drop-down menu of the Image in Shape button on the popup panel with formatting settings:
Select the shape.
Select the Select Image item in the drop-down menu of the Image in Shape button on the popup panel. After the image file is selected, the image is added to the shape and is fit to its borders.
To delete the image:
Select the image in the working area or the shape containing the image.
Select the Delete Image item in the drop-down menu of the Image in Shape button on the popup panel.
After executing the operations the image is deleted from the working area or shape.
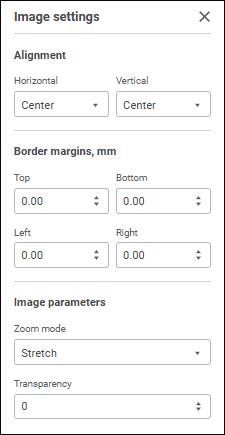
To set up the image in the working area, select the Set Up Image item in the drop-down menu of the Image in Shape button on the popup panel. The Image Settings side panel opens:
Set the parameters:
Alignment. Set image position in the shape. By default, the image is aligned to center relative to vertical and horizontal borders of the shape.
Border Margins, mm. Set additional image margins in the shape.
Image Parameters. Set the following parameters:
Zoom Mode. Select image resize mode relative to shape sizes:
Do not Resize. Original image size is kept. If the image is larger than the shape, it is out of the shape borders.
Lock Aspect Ratio. Image size is fit proportionally to the width and height ratio of the shape.
Stretch. The image is stretched to fit the shape taking into account the specified margins.
Transparency. Set image transparency degree. Available values are in the range [0, 80].
See also:
Setting Up Workspace Formatting