The example of additional attribute display
When setting up sidehead structure in the table area wizard of data entry form you can also set up sidehead display:
Set up row headers display.
Set up display of sidehead dimensions elements additional names.
Set up rows numbering.
To display sidehead rows headers in the table area, select the Row Headers checkbox in the area of additional structure settings. The checkbox is selected by default.
Set up element name displaying in form sidehead. To dot it, at the left area:
Select dimension.
Select the Names item in the dimension's context menu.
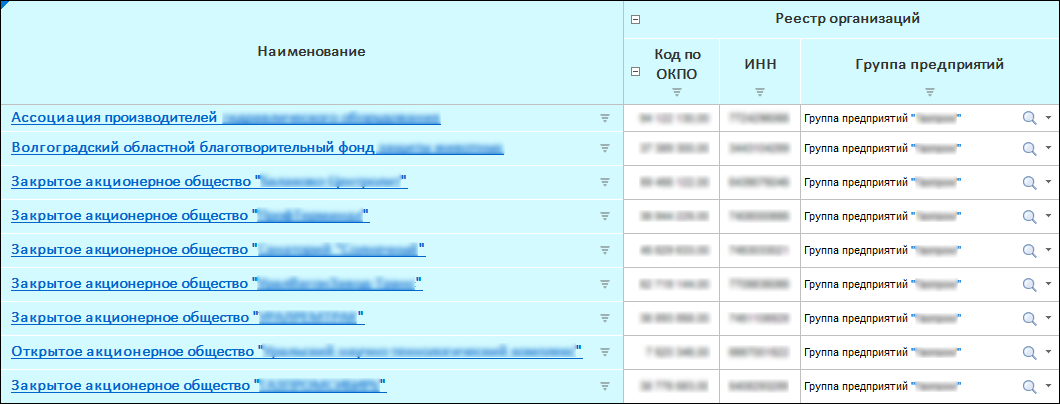
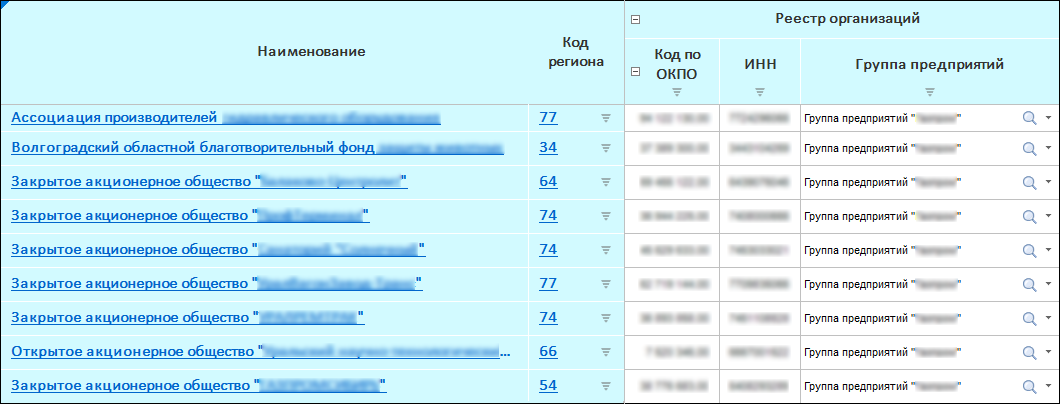
Select one or several dimension attributes, by selecting a checkbox next to the attribute.
NOTE. If several attributes are selected, each selected attribute will be displayed in table area in a separate column.
The example of additional attribute display
To number sidehead rows, select the Numbering of Rows checkbox in the area of additional structure setup. By default, row numbers will be displayed in a new sidehead column before headers. Numbering starts from rows containing data. To set up numbering, click the  Edit button, and the Numbering dialog box opens. The setting is available when the Numbering of Rows checkbox is selected.
NOTE. Numbering by rows can be set up after creating table area on editing. To do this, select a cell or a cell range of table area and select the By Rows item of the ![]() Numbering button drop-down menu on the Table ribbon tab. For additional setup of numbering select the Set Up item in the drop-down menu of the
Numbering button drop-down menu on the Table ribbon tab. For additional setup of numbering select the Set Up item in the drop-down menu of the ![]() Numbering button on the Table ribbon tab, after which the Numbering dialog box opens.
Numbering button on the Table ribbon tab, after which the Numbering dialog box opens.
Numbering can be shown or hidden during the work with a ready data entry form.
See also:
Getting Started with the Interactive Data Entry Forms Extension in the Web Application | Setting Up Table Area | Setting Up Sidehead Structure | Advanced Settings of Sidehead Structure