To start working with the tool, create a new or open a ready report.
To create a new report in the object navigator click the Create button in the main menu and select the Regular Report option in the New Object panel that opens.
To open a ready report for edit in the object navigator execute one of the operations:
Select the Edit item in the report's context menu.
Select the Edit in a New Tab item in the report's context menu.
Select the Edit in a New Window item in the report's context menu.
Select the report and press F4.
The users who have only object read permissions can open a ready report for edit without being able to save changes. For details see the Working in Object Navigator section.
To open a ready report for view in the object navigator execute one of the operations:
Select the Open item in the report's context menu.
Select the Open in a New Tab item in the report's context menu.
Select the Open in a New Window item in the report's context menu.
Double-click the report.
Select the report and press the ENTER key.
To build a report, see the Building Report article.
To work with a ready report, see the Working with Ready Report article.
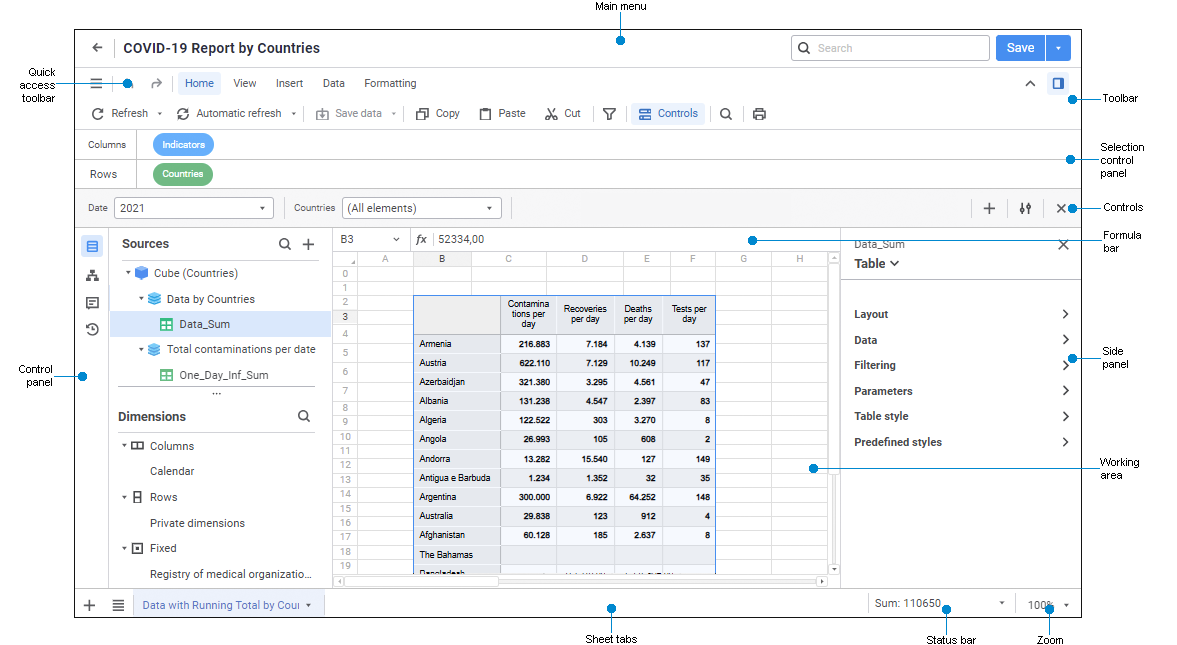
The user interface of the Regular Reports tool:

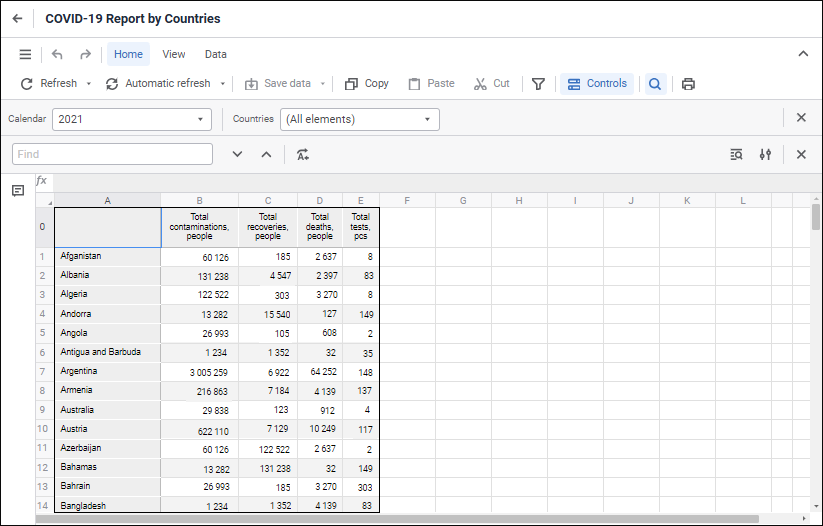
Regular report in the view mode


Report custom interface elements
Main menu. It contains basic commands that are used to execute various operations with reports, the box for renaming report, and the button to go back to the object navigator. One can also save report, create a report copy, and menu item search in the report's edit mode.
Quick access toolbar. It contains operation undo and redo commands.
Toolbar. It contains buttons for report building and setup in the edit mode and while working with data in the view mode.
Selection control panel. It is used to change table rows and columns on the report sheet. The panel is available if the
Selection Control Panel button is clicked on the View toolbar tab. When the selection control panel is displayed, the search panel is hidden.
Control panel. It is used to select data source and manage dimensions in the report's edit mode, to work with report units and event handlers in the edit mode, to work with comments and version history. It contains buttons to select a group of settings displayed on the panel.
Controls. They are used to change table selection on a report sheet using controls when working with a ready report. The panel is available if the
Controls button is clicked on the Home toolbar tab.
Side panel. It is used to set up report.
Search panel. It is used to find and replace data. The panel is available if the
Find and Replace button is clicked on the Home toolbar tab. The Results panel is also available in the find and replace mode. When the search panel is displayed, the selection control panel is hidden. The search panel is displayed for the report opened for view.
Formula bar. It is used to enter data and formulas to table cells, to display addresses of selected cells, and algorithm formulas if their cell values are calculated.
Working area. It is used to build a report in the edit mode and to enter data in the view mode.
Sheet tabs. They are used to work with report sheets in the edit mode and to navigate between them in the view mode.
Status bar. It is used to display results of calculating basic aggregates of the selected table cell range.
Zoom. It is used to set up sheet display zoom in the working area.
General settings are available when working with regular reports. To determine the settings, use the Settings panel.
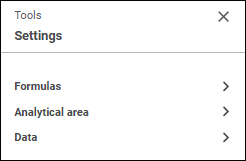
Select the Settings main menu item.

The panel contains groups of settings:
For details about determining calculation parameters for formulas with circular references and reference style, using tooltips during formula entry, and error indication see the Setting Up Calculation Formulas section.
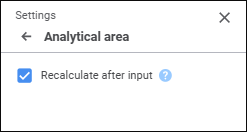
To enable calculation by edited data, use the Analytical Area group of settings:

To enable calculation by edited data without presaving of data to the source, select the Recalculate after Input checkbox.
Formula calculation setup by edited data is disabled by default. When the setting is disabled, calculation is executed only after data is saved to the source.
The setting of calculation by edited and not saved data is used for:
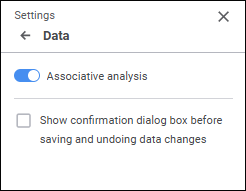
To enable associative analysis and display a confirmation dialog box, use the Data group of settings.

Associative Analysis. To use associative analysis toggle the switch to active state. After the switch is activated, elements on the selection panel will be sorted depending on whether they contain data: first, selected elements with data are displayed, then not selected elements with data, then selected elements without data, and finally not selected elements without data. Elements without data will be highlighted in grey. To use associative analysis, the cube used as a data source must be cached and indexing information must be generated for analysis. The switch is active by default.
Show Confirmation Dialog Box. To avoid unexpected data loss or unwanted data save in case of data change, enable showing of confirmation dialog box. To show confirmation dialog box, select the Show Confirmation Dialog Box before Saving and Undoing Data Changes checkbox. The checkbox is deselected by default. After the checkbox is selected, on an attempt to save or undo table data changes the system opens the operation confirmation dialog box.
See also:
Creating Pixel-Perfect Reports | Building Report | Working with Ready Report