Visual FoxPro
The Visual FoxPro connector is an object that is used to get data from Visual FoxPro databases.
After adding the connector to the ETL task working area, set basic properties and import options. The connector output can also be edited and data filtering options can be set.
Import Options
The Import Options page is used to specify a file with imported data and parameters that are used to determine a data range.
The Visual FoxPro Database and Directory Containing Visual FoxPro Files radio buttons enable the user to determine a provider type.
Select the required file from a Visual FoxPro database or from a directory containing Visual FoxPro files.
Enter the query text, in accordance with which the data is selected, in the Query box.
The Advanced Settings button enables the user to determine advanced settings used on data identification.
The View Data button shows data selected by a query.
NOTE. Only the first hundred of the provider lines will be displayed during the data preview.
Edit Output
The Edit Output page enables the user to set links to the consumer object, to which data on executing ETL tasks is loaded.
NOTE. The page is common to all data connectors and transformers, except for the Split and User Algorithm transformers. Consider setting up a list of fields and output links using the example of the Repository data source editing wizard.
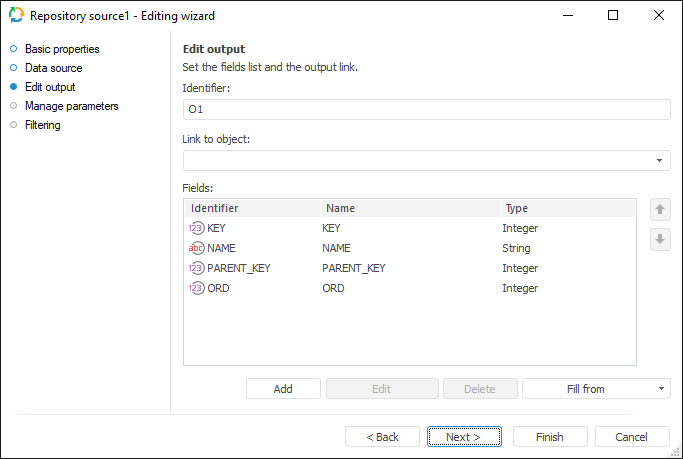
The following settings are available on the page:

 Identifier
Filtering
On the Filtering page specify the condition, according to which the imported data will be selected.
NOTE. The page is common to all data provider connectors, except for the User Provider connector. Consider setting up data provider filtering using the example of the Repository data provider editing wizard.
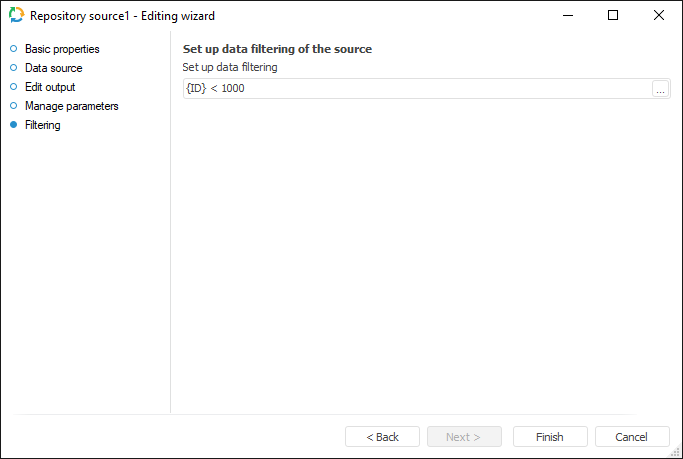
To create a filtering condition, click the ![]() Browse button. The expression editor dialog box opens. All provider fields can be used to create an expression. The data that satisfies the specified condition is imported.
Browse button. The expression editor dialog box opens. All provider fields can be used to create an expression. The data that satisfies the specified condition is imported.