
Execute installation under the user who has local administrator permissions.
Before installation make sure that a server role has been added if the web application is installed on server Windows OS. If web server is to be installed to a non-server Windows OS, connect IIS services before installation.
Web application back end can be installed on IIS web server using the FP10WebServer.exe installer.
The installer executes the following operations:
It installs web application files.
It sets up IIS.
It creates a pool of applications and a virtual directory.
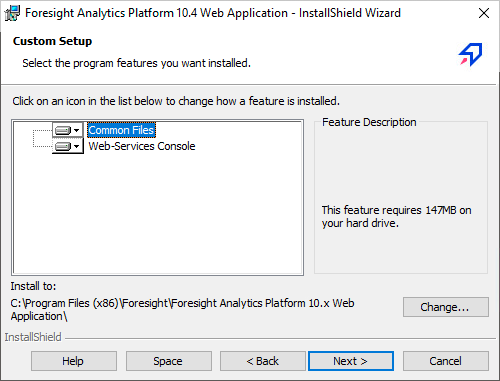
It installs web service console (optional).
NOTE. To ensure correct installation, check that Internet Information Services package is installed on the workstation. Instructions for installing the package can be found in the documentation for the appropriate package.
To start the installation, run the FP10WebServer.exe file. After starting, the installation program checks for an earlier version of Foresight Analytics Platform, and if earlier versions are found, it will be prompted to update Foresight Analytics Platform.
A dialog box where to select the installation language opens if an earlier version is not found:
The default language is the language selected in regional settings (see Control Panel > Language and Regional Settings > Regional Settings tab). The selected language is also used as a Foresight Analytics Platform Activation section.
NOTE. Foresight Analytics Platform interface language can be changed after installation.
The first page of the installation wizard with background information is displayed next:
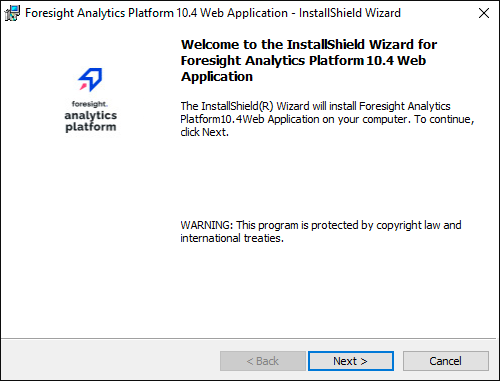
Click the Next button to continue the installation.
At the next step the installation wizard prompts the folder, in which the web application of Foresight Analytics Platform. The folder: C:\Program Files (x86)\Foresight\ or C:\Program Files\Foresight\ depending on the operating system bitness. Click the Change button to change the installation folder.
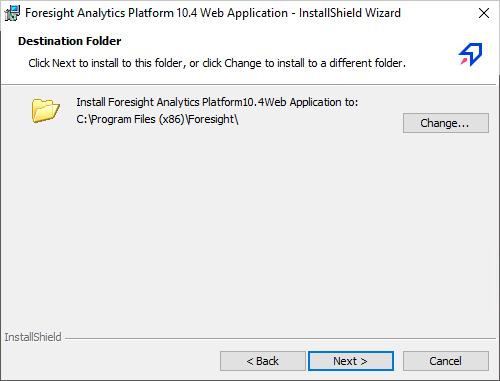
Click the Next button to continue the installation.
On the next page, select the radio button of the required setup type. The typical installation is executed by default. The custom installation allows for selecting component to be installed, including web service console.
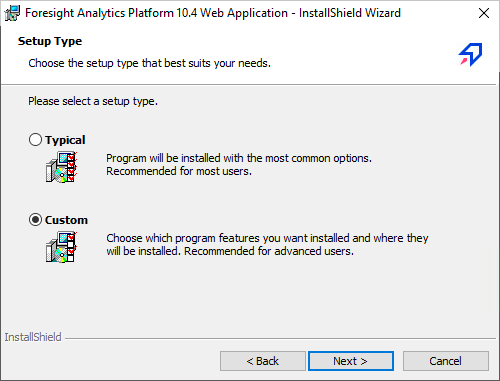
Click the Next button to continue the installation.
Select the required components and click the Next button.
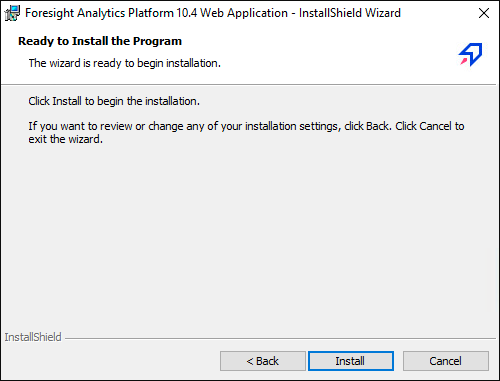
Click the Install button at the next page to start the installation:
Click the Finish button on the last page of the wizard to finish the installation.
After the installation set up web application configuration.
TIP. To access the web application, see the Opening Web Application article.
See also:
Web Application Back End | Installing BI Server on Windows OS