Creating and Installing Updates
Updates are created and installed using *.updpack files. Creating and installing of update packages ensures the integrity control of the components created by users, taking into account versions of linked system components of Foresight Analytics Platform.
On transferring update package of user component to another repository where the component is not installed, primary component installation is executed using repository. In the future, versions of installed components between repositories are created and updated in the component designer.
The following steps are executed on creating a user component:
Primary installation of the Designer of Business Applications extension of Foresight Analytics Platform to development repository using the repository manager. After the extension has been installed, the Designer of Business Application system component with the COMP_CONSTRUCT identifier will be installed to the repository.
Creating a component and creating updates in the repository using the component designer.
Installing component updates:
In other repository, for example, test repository where the component is not installed:
Primary installation of the Designer of Business Applications extension of Foresight Analytics Platform to test repository using the repository manager.
Primary component installation to test repository using the repository manager.
In other repository, for example, test repository where the component is installed:
- Installing component updates to test repository using the component designer.
Creating Component Updates
Component updates in the *.updpack format are created in the desktop application.
To create component updates, follow the steps:
Open the component for edit:
Click the
 Edit button in the Open group on the Home ribbon tab.
Select the Edit item in the component's context menu.
Press F4.
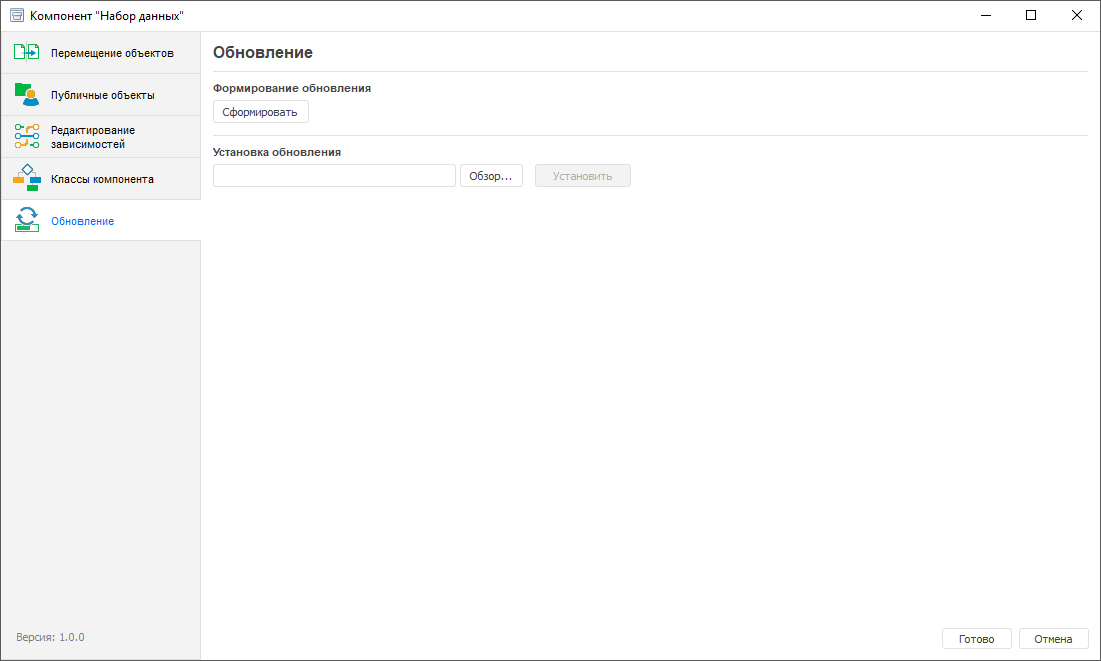
In the component designer open the
 Update section:
In the Create Update item click the Create button. The update creation wizard opens.
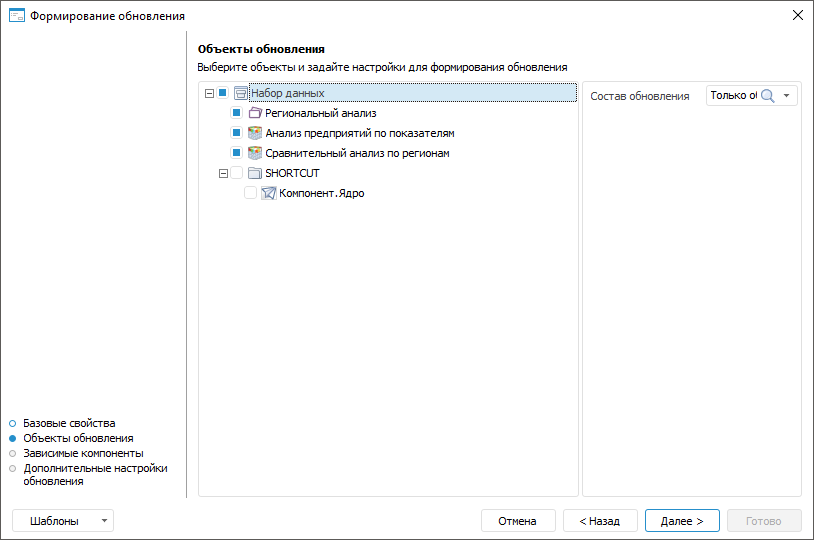
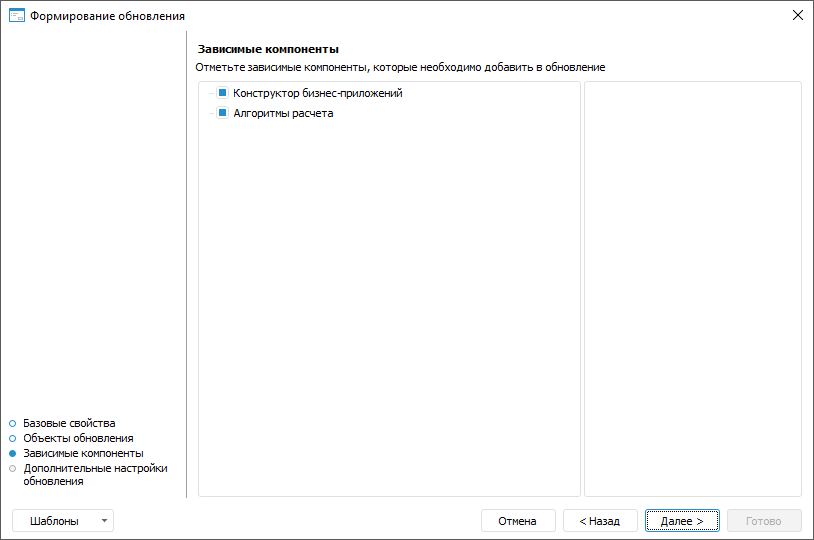
In the update creation wizard define:

 Basic properties
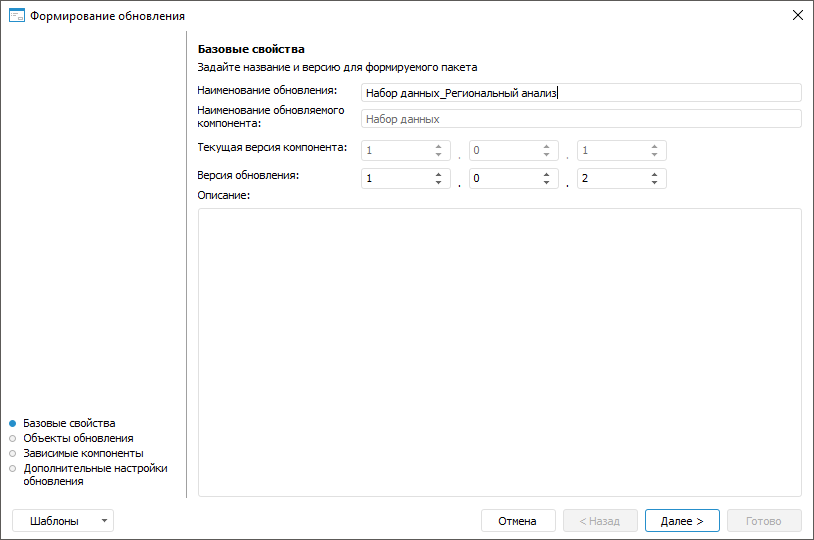
 Editing Dependencies section of the component designer.
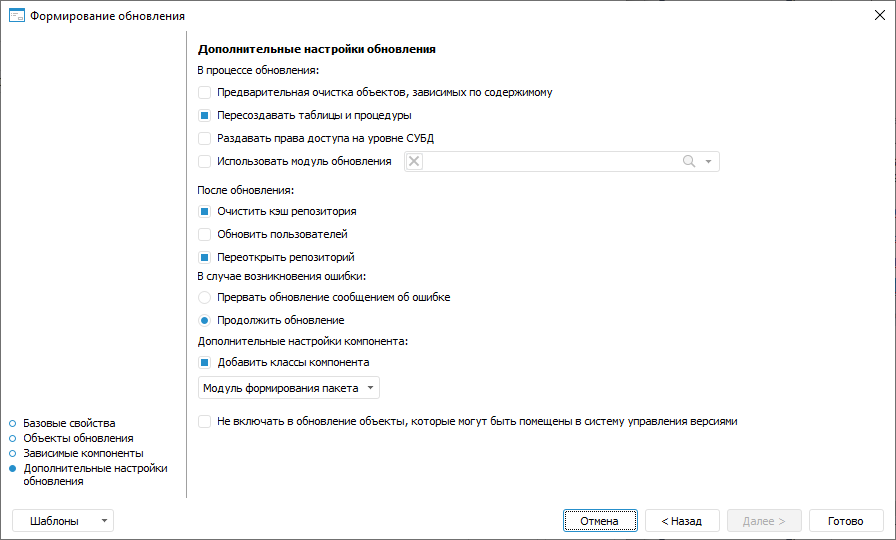
If required, the *.xml template can be created to save update creation settings for reuse. The template stores: update name, list of all objects with installed update contents and selection state (checkbox is selected/deselected), additional settings. The template does not store selection state by dependent components update, checkboxes are always selected by default. Click the Templates button and select one of the options in the list:
Save to Component. When this command is selected, the update options file is saved to the component. These settings will be automatically applied on each update wizard opening till their deletion.
Delete in Component. When this command is selected, the update options file is deleted in the component. The command is displayed in the list if template was saved to the component.
Save to File. When this item is selected, the update settings file is saved on the local resource.
Load from File. When this item is selected, the settings file specified by the user is loaded from the local resource (once). The information message is displayed to confirm settings application.
If the template is not applied, update creation wizard settings are set by default.
Primary Component Installation
For the primary component update package installation to repository where the component is not installed, follow the steps:
Start the repository manager:
To start, use the shortcut that is created in the Windows main menu or use the RepoMngr.exe application in the folder with installed Foresight Analytics Platform opens.
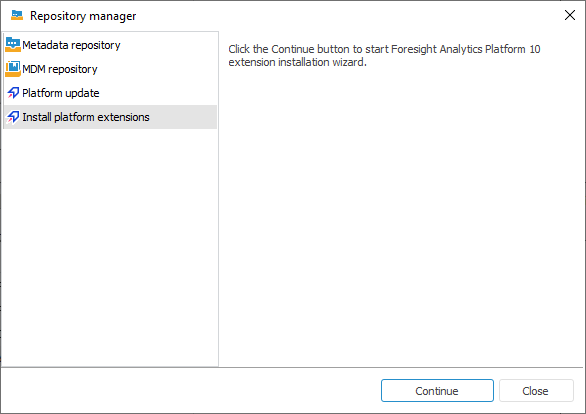
After the startup, select the Install Platform Extensions item.
Click the Next button.
Select file with application update package and determine repository, to which component will be installed.
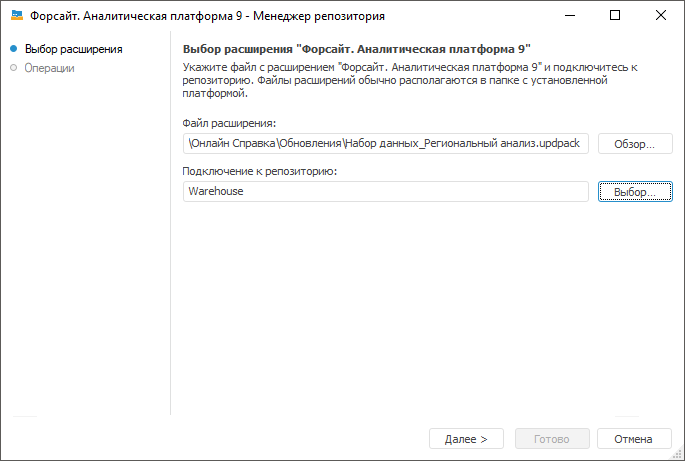
Clicking the Next button installs the selected update package for application.
NOTE. Connect to the repository under the name of the user who is a database (schema) owner.
When the installation is finished, click the Finish button.
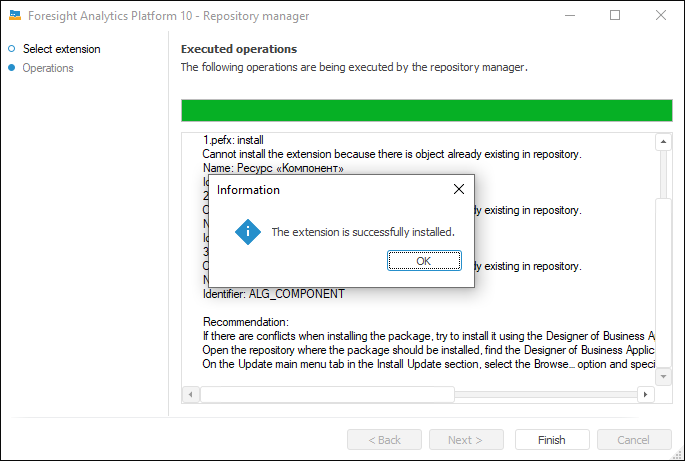
NOTE. If there are any conflicts on installing update package, try to install it using the Designer of Business Applications extension. To do this, open the repository to which package is to be installed, find the Designer of Business Application object with the COMP_CONSTRUCT identifier, open it for edit and install update package.
Installing Component Updates
Component update is installed using *.updpack files.
An update can be installed in the desktop application and web application.
Installing Update in the Desktop Application
To create component updates, follow the steps:
Open the component for edit:
Click the
Edit button in the Open group on the Home ribbon tab.Select the Edit item in the component's context menu.
Press F4.
In the component designer open the
Update section:In the Install Update dialog box click the Browse button, select the required update file and click the Install button.
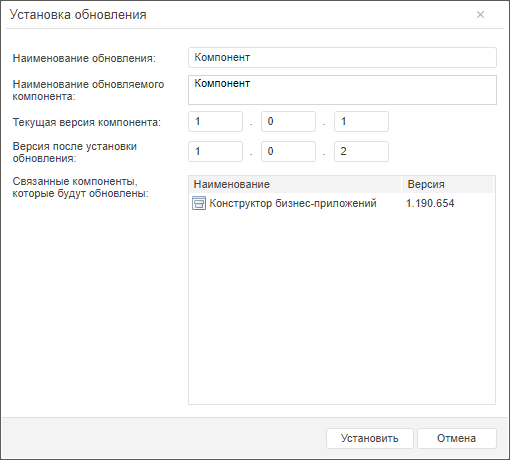
After the file has been selected, the Install Update dialog box opens where names of update and component to be updated, number of the current component version and its version after update installation, names and version numbers of linked components that will be updated are displayed. Click the Install button:
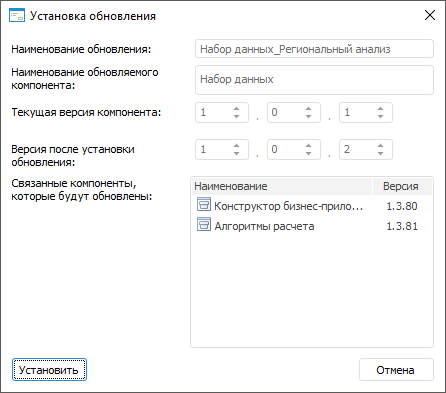
NOTE. If the number of the installed component version will be less than the current one, the  warning icon will be displayed. The Install button will be inactive.
If it is required to downgrade the current component version, contact the technical support service.
The Install Update dialog box opens, in which click the Install button:
When the update is installed, click the Finish button:
NOTE. If there are any errors, go to the Errors tab for details. In case of additional development of component objects, recreate the update and install it.
After the update is installed, close the repository and re-login.
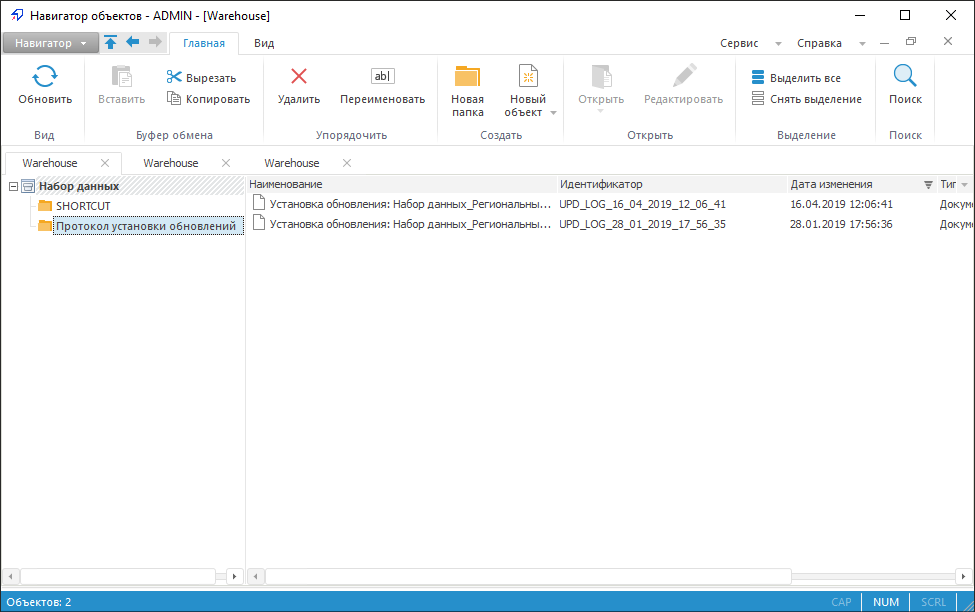
After the update is installed, the component structure will contain the Update Installation Report folder including text files of installation report:
Installing Update in the Web Application
To install component update, follow the steps:
Open the update wizard using one of the methods:
In the object navigator select the Navigator > Update Repository Objects main menu item.
In the object navigator select the Tools > Update Manager > Apply main menu item.
Select the update file. To do this, click the Browse button, the standard file selection dialog box opens. Specify the path to the update file with the *.updpack extension.
After the file has been selected, the Install Update dialog box opens where names of update and component to be updated, number of the current component version and its version after update installation, names and version numbers of linked components that will be updated are displayed. Click the Install button:
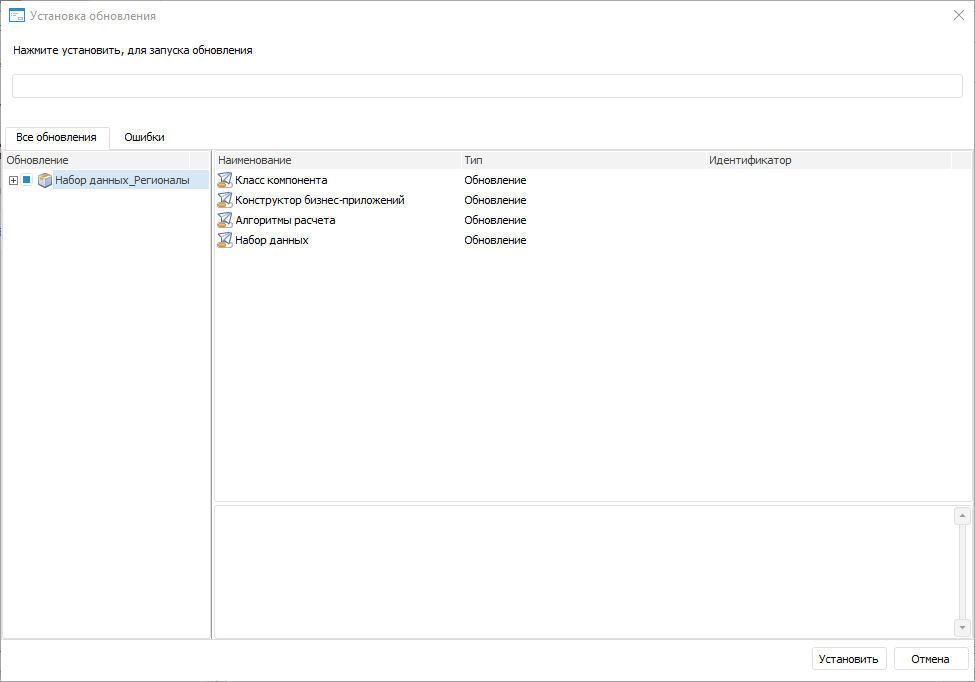
The update wizard dialog box opens that contains two pages: Information and Update:
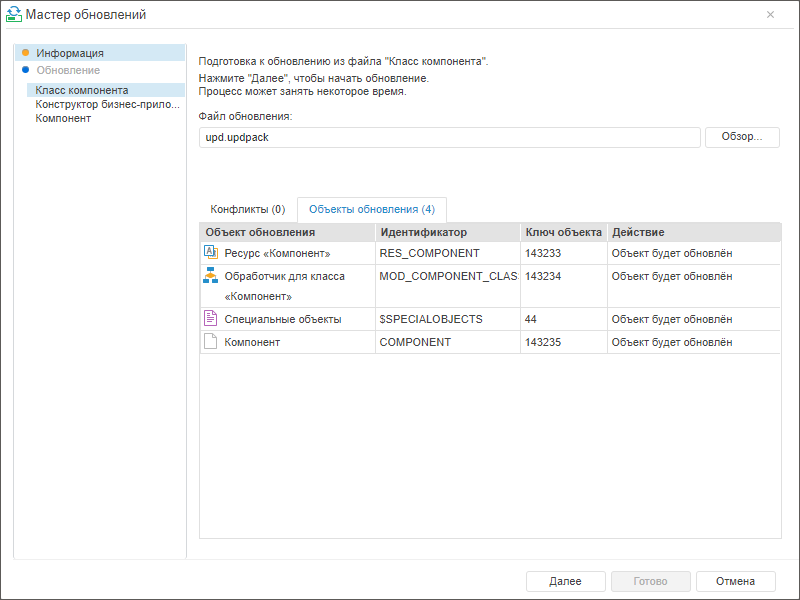
Installation of an update in the *.updpack format in the web application includes preparation and installation of files listed on the side panel of the update wizard. At the stage of preparation of each of the file, the Update Objects tab displays the objects to be updated at the current stage.
On the Information page click the Next button to install update from the first file.
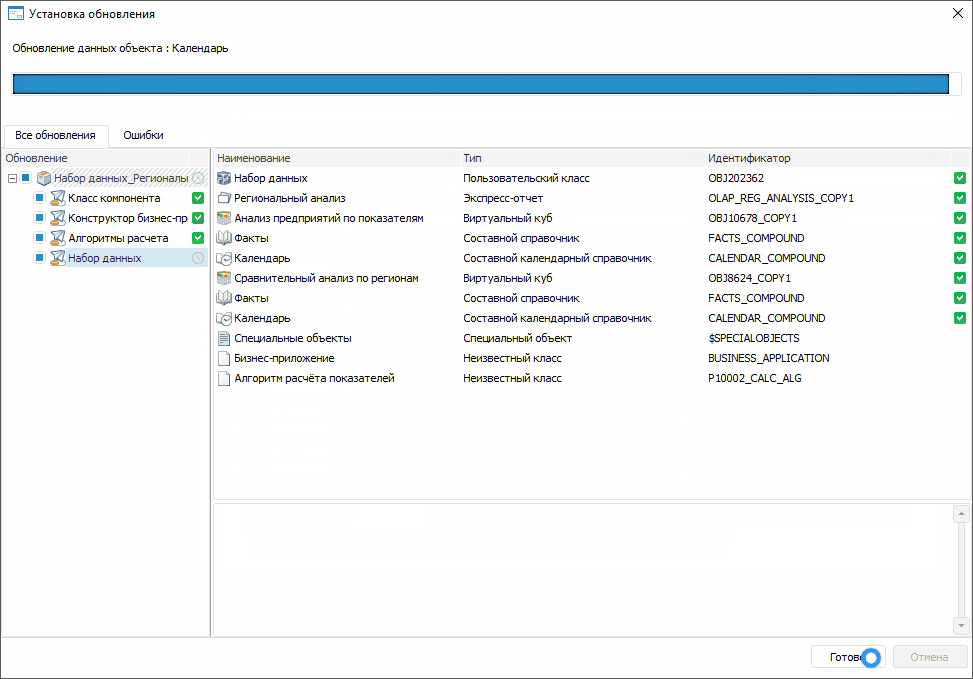
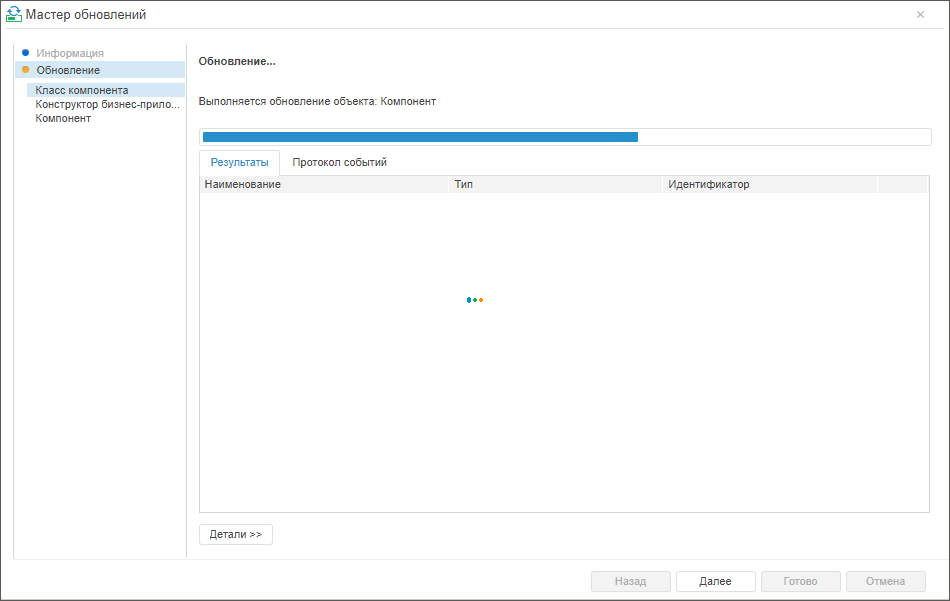
After the update from file is started, the Update page displays the current update progress:
After the update is installed from file, the Update page displays the message about update completion:
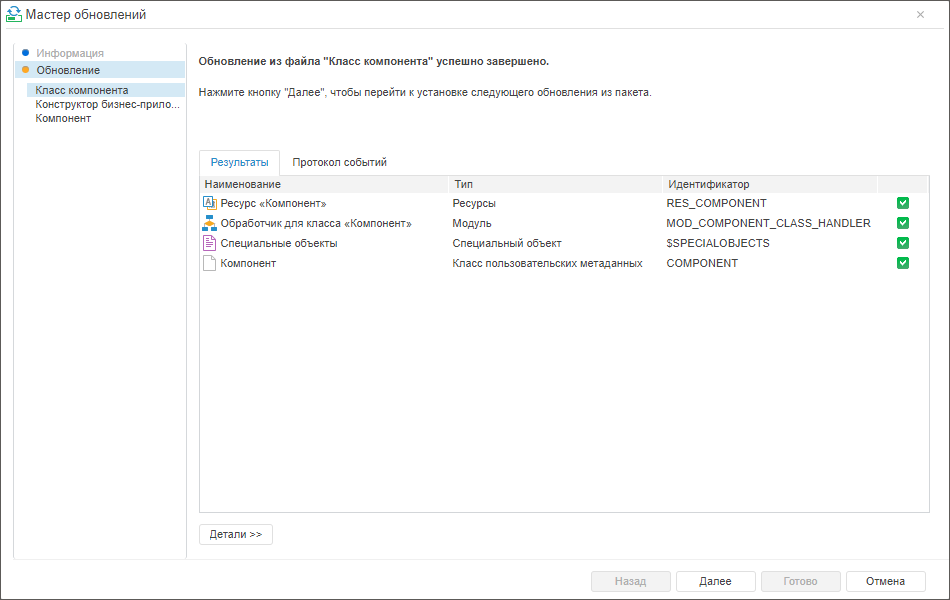
After the update from file is complete, click the Next button.
Repeat steps 4-5 for the rest of files.
Click the Finish button to close the wizard.