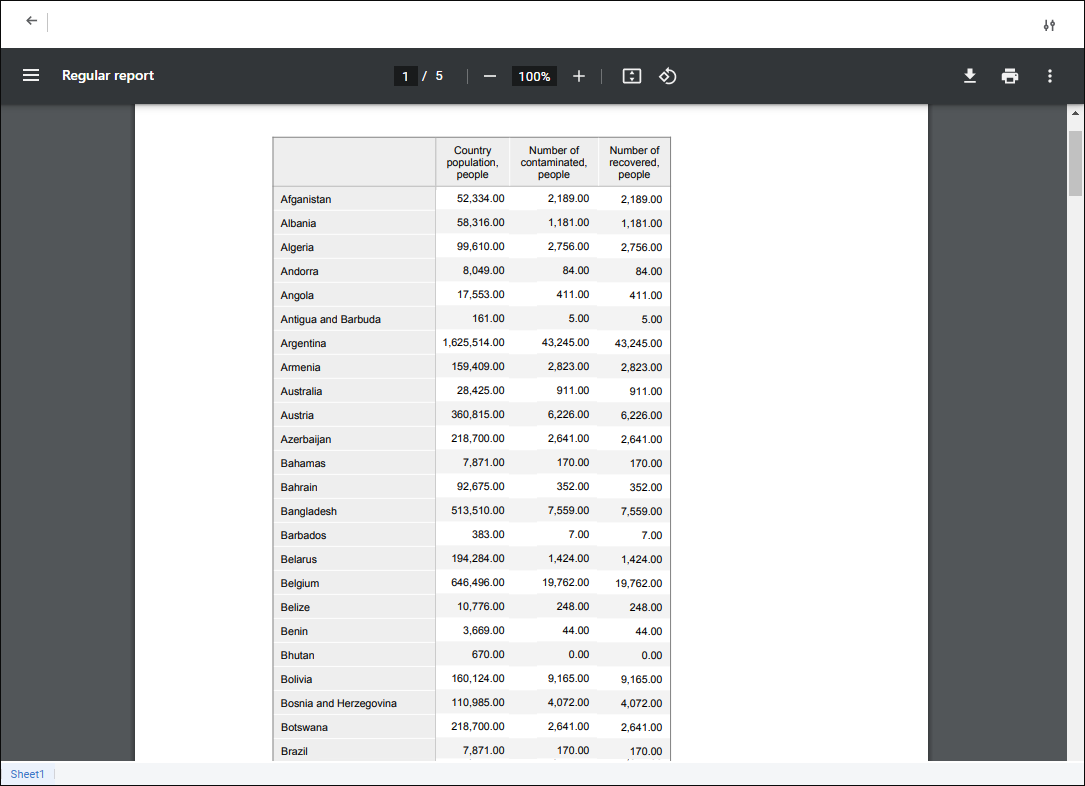
Show Borders. Click the Show Borders button or select the Show Borders item to show borders of the pages to be printed and/or exported, as a dashed line on a report's active sheet. Page borders are set depending on the orientation, margin width, page size, and breaks.
 Margins. Click the Margins button or select the Margins item in the drop-down menu to resize margins:
Normal Margins. Default value.
Wide Margins.
Narrow Margins.
 Orientation. Click the Orientation button or select the Orientation item in the drop-down menu to change page orientation:
Portrait. Default value.
Landscape.
 Size. Click the Size button or select the Size item in the drop-down menu to resize page. The list contains predefined paper size options, for example, A4, A5, and so on. The A4 size is set by default.
 Breaks. Select the cell that will be the top left cell of a new page border and select the Add Break item in the drop-down menu of the Breaks button to show specific sheet data on one page. After executing the operations, page breaks are displayed as a solid line, and page borders are automatically enabled.

 Open the Page Settings panel
 Page Settings button at the top right corner in the report's
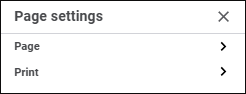
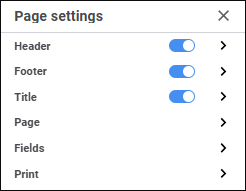
 Print button on the Home toolbar tab.