Create a data area
How to set up data formatting and detailing for one dimension level?
A data area sidehead can show several dimension levels. To make a view more visual, use various formatting for sidehead levels, and to enrich information contents, use detailing for each level.
The Cube of Socio-Economic Indicators cube will be used to create a data area. Creation of this cube is described in the Example of Creating a Cube section.
The data area looks as follows:
Use the elements of one of the sidehead levels as hyperlinks to another report sheet.
Set up detailing and its formatting for dimension level data.
Read the following information to learn how to format the Regions level in the Territories dimension.
Set up detailing for the Region level of the Territories dimension on the Dimension-Determined Detailing Parameters tab (Details > Dimension).
NOTE. A detailed description of detailing setup is given in the Example of Detailing Setup section.
Select a data area cell and select the Data Area Properties context menu item.
In the Data Area Properties dialog box open the Dimension-Determined Formatting Parameters tab (Formatting > Dimension). Select the Territories dimension and the Region level:
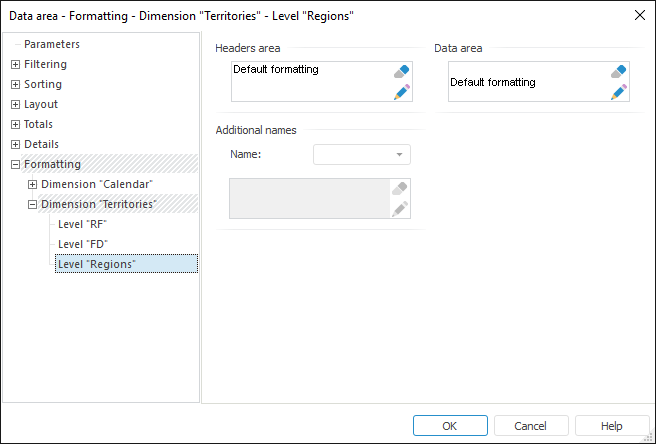
Click the Set Up Formatting button in the Headers Area group of elements.
In the Cell Format dialog box that opens go to the Hyperlink tab and define the following parameters:
Select the Treat Text as Hyperlink checkbox.
In the Desired Action combobox select the Open Report Sheet item.
Select a sheet to go to in the Report Sheets list.
Click the OK button in the Cell Format dialog box, and then click the OK button in the Data Area Properties dialog box.
To apply the settings, calculate the data area.
After this the data area looks as follows:
Thus, sidehead level elements have been set up to be used as hyperlinks to another report sheet.
See also:
Questions and Answers | Table Cell Attributes | Data Area | Data Area Properties