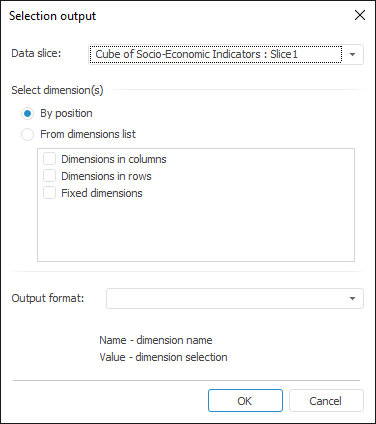
 button in the header or footer editing dialog box. The Selection Output dialog box opens:
To add a selection to the header or footer, click the  button in the header or footer editing dialog box. The Selection Output dialog box opens:

In the dialog box that opens determine the following parameters:
After clicking the OK button, one tag is added to header or footer:
For each selected position:
&[<Slice name>.Selection Part = "<selected part Rows|Columns|Fixed>" Format = "<Selected or created formatting>"]
NOTE. If the Part attribute is not specified, the selection for fixed dimensions is displayed.
For each selected dimension:
&[<Slice Name>.<Dictionary ID>.Selection Format = "<Selected or created formatting>"]
NOTE. If the Format attribute is not defined, only selection value (Value) is shown.
After creating a tag, only manual editing and deleting is available. Reopening this dialog box does not enable the user to edit it.
If no output format has been selected before clicking the OK button, the user is prompted to set default selection output format.
See also:
Getting Started with the Reports Tool in the Web Application | Page Headers and Footers | Setting Up Pixel-Perfect Report | Building Report | Working with Ready Report