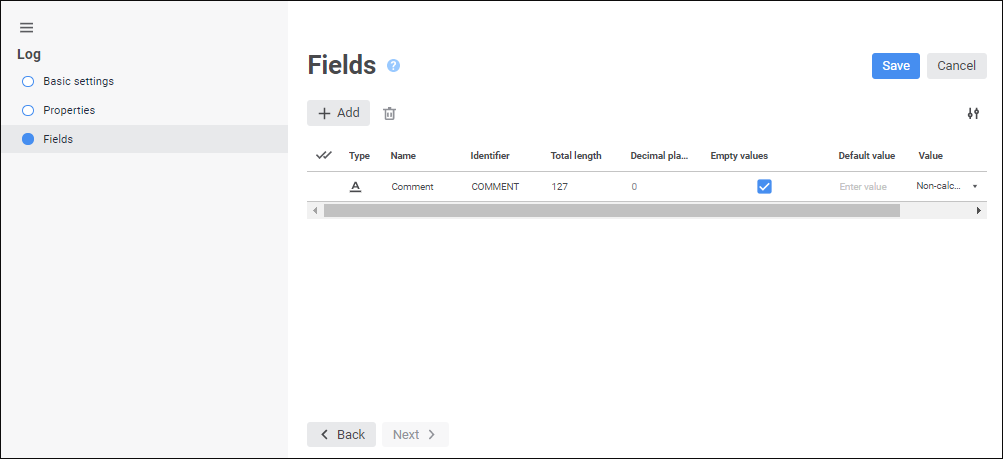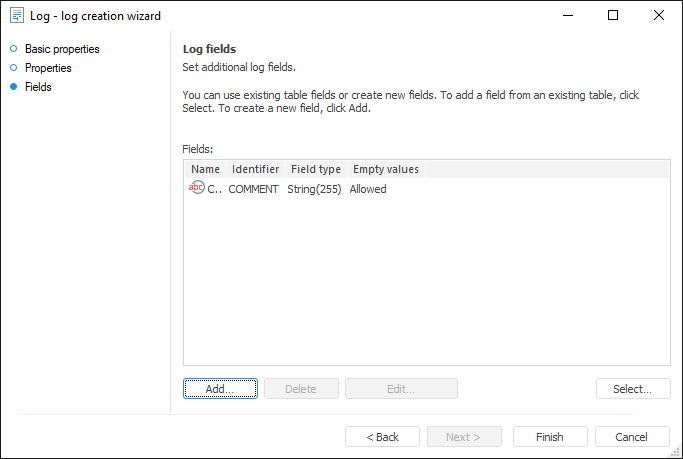

The Fields page is used to create a list of additional log fields.


To add new fields, execute one of the operations:
In the web application click the  Add button. A new string is added to the fields list.
In the desktop application:
Click the Add button.
Double-click the fields list area.
The Table Field Properties dialog box opens:

Determine field attributes:
Name. Enter field name that describes its purpose.
Identifier. Enter unique table field identifier. Identifier is a sequence of Latin letters, numbers and underscore characters and is used for executing SQL queries and determining links between tables.
Type/Data Type. In the drop-down list select type of the data to be stored in a table: string, number, real, date, custom.
Total Length. Determine the maximum length of table field: this value represents the number of symbols for the symbol type or the number of digits for the numeric type.
Decimal Places. Determine the number of decimal places for numeric fields.
Empty Values. Determine whether empty values can be stored in the table field. In the desktop application the parameter can have two values: Allowed and Not Allowed.
Default Value. Determine the value that goes automatically into every new created table field if required. For example, one can enter the most frequently occurring value.
Value/Calculated Field. Determine whether a field is calculated. In the web application the parameter can have two values: Calculated and Non-Calculated. When setting calculated field, in the Expression box enter the expression to calculate field value. To create an expression use the expression editor that opens on clicking the  Create Expression button in the web application or the
  Set Expression button in the desktop application.
In the desktop application one can also add fields to the list of log fields from existing tables. To do this, click the Select button to open the Select Table dialog box. In this dialog box select the table, all fields of which must be written to the list of log fields.
To change displayed properties in the web application, select or deselect the required properties in the drop-down menu of the  Settings button.
To edit the selected log field:
In the web application determine or edit the required field settings in corresponding columns.
In the desktop application click the Edit button or double-click the parameter in the list. The Table Field Properties dialog box opens.
To delete the selected field:
In the web application click the  Delete button.
In the desktop application click the Delete button or press CTRL+DELETE.
A confirmation dialog box opens.
Clicking the Save button in the web application or the Finish button in the desktop application creates a log in the repository, and a table with generated structure in the repository database.
See also:
 Add a field