Before form printing:
Check form formatting settings.
Set up page settings.
Preview form.
Then print form.
Go to the next step if required:
To determine form page settings, select the Data Entry/Output Form > Print > Page Settings main menu item.
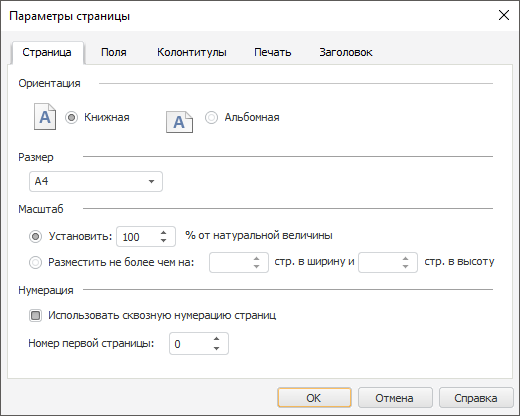
The Page Settings dialog box opens:

To set up sheet print, use the dialog box tabs:
Page. It is used to set up general page settings.
Margins. It is used to set up page margins.
Header/Footer. It is used to set up page headers and footers.
Print. It is used to set up print options.
Title. It is used to set up report title.
NOTE. Settings correspond to regular report page settings.
To make sure that the form looks appropriately, select the Data Entry/Output Form > Print > Preview main menu item. In the Preview window that opens the form is displayed as it will be after printing.
The preview window enables the user to:
Select a sheet for preview. Use the Sheet drop-down list.
Select image zoom. Use the drop-down list.
Print form. Click the  button.
Go to the page settings. Click the  button:

Finish the work in the preview mode by clicking the Close button.
To print a form:
Select the Data Entry/Output Form > Print > Print main menu item.
Click the  button in the preview mode.
Press CTRL+P. The feature is available only in the desktop application.
In the desktop application, the Print dialog box opens to set up print options and select the printer. In the web application, a report preview and print page opens. Page appearance and work order depend on the browser in use.
See also:
Building Data Entry Form | Working with Ready Data Entry Form