Click the ![]() Margins button in the Page Settings
group on the Page Layout ribbon tab of the regular report opened
for edit.
Margins button in the Page Settings
group on the Page Layout ribbon tab of the regular report opened
for edit.
Select the margin width option in the drop-down menu of the button:
Normal Margins.
Wide Margins.
Narrow Margins.
Page margins can be set using the following methods: quick setup and advanced setup.
To quickly set up page margins:
Click the ![]() Margins button in the Page Settings
group on the Page Layout ribbon tab of the regular report opened
for edit.
Margins button in the Page Settings
group on the Page Layout ribbon tab of the regular report opened
for edit.
Select the margin width option in the drop-down menu of the button:
Normal Margins.
Wide Margins.
Narrow Margins.
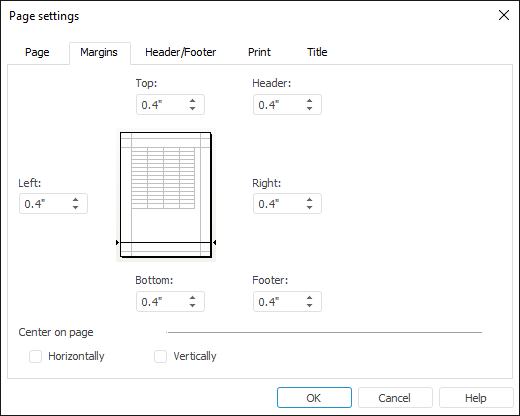
On selecting the Custom Margins item, the Page Settings dialog box opens on the Margins tab.
After executing these operations, the specified margin settings are applied.
To execute advanced setup of margins and header and footer width on the page, go to the Margins tab of the Page Settings dialog box:

Define the following parameters on the tab:
Top, Bottom, Left and Right. Set the distance to printed page edge.
Header and Footer. Set the distance between header and page top and between footer and page bottom in millimeters. This space must be less than the size of the top and bottom margins, respectively.
NOTE. The value can be entered in different measurement units. The editor box shows values using measurement units that correspond to the current regional settings of the operating system.
In the Center on Page group select the method that is used to center sheet objects:
Horizontally. If the checkbox is selected, objects in the report sheet are centered horizontally.
Vertically. If the checkbox is selected, objects in the report sheet are centered vertically.
See also:
Setting Up Report for Printing | Using Table Sheet | Using Text Sheet | Working with Ready Reports