A data transformer is an object that transforms input data and (depending on the transformation type) loads transformed data into one or several consumer objects. Both data providers or other transformers can be used as transformer inputs. Similarly, both consumer objects or other transformers can receive data from transformer outputs. The length of transformation chain is not limited.
If the following transformers are used in a task: Delete Duplicates, Sort, Join, batch data processing will be ignored.
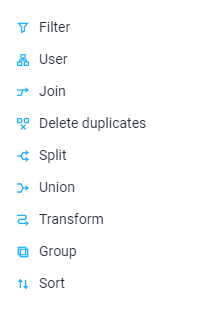
Available transformers:

To create a data transformer, open the context menu in the ETL task's working area and in the Transformer group select the required transformer type.
To edit a transformer:
Double-click to select the transformer in the working area.
Select the Set Up item in the transformer's context menu.
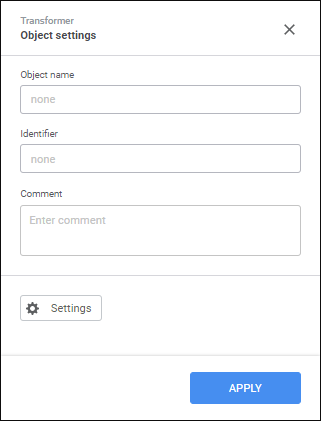
After executing one of the operations, the transformer's settings panel is displayed:

NOTE. The example of the settings panel is given for the Union transformer.
On the settings panel set basic properties that are common for all transformers:
Object Name. Enter a new object name in the corresponding box. Renaming the object results in the changed text displayed for the element in the working area.
Identifier. Enter a new object identifier in the corresponding box. The transformer identifier should be unique within the task and should start with a letter. Usage of Latin letters, numbers and the "_" character is allowed
NOTE. Enter object description in the text box. The box is optional.
To determine work parameters and to create links between other objects, click the Settings button.
To save the settings, click the Apply button in the settings panel.
To delete a transformer, select the Delete item in the object's context menu. After executing the operation the operation confirmation is requested.
To determine and set up a list of transformer inputs and a list of fields:
Open the transformer's settings panel.
Click the  Settings button.
On the advanced settings panel of the transformer go to the Input Editor tab.
After executing the operations the Input Editor tab is displayed:

NOTE. The Input Editor tab is displayed in the example of the Union transformer. The panel appearance and the number of available inputs depends on the transformer type.
Available operations with transformer inputs:
To determine a transformer output and a list of fields:
Open the transformer's settings panel.
Click the  Settings button.
On the advanced settings panel of the transformer go to the Output Editor tab.
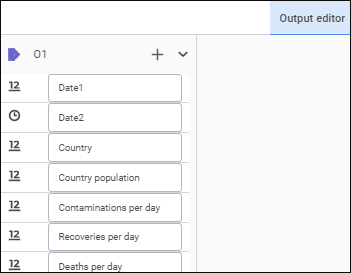
After executing the operations the Output Editor tab is displayed:

Available operations for transformer outputs:
To set up input fields, go to the Input Editor tab. To set up output fields, go to the Output Editor tab. Available operations for input and output fields are similar:
To set up links of outputs with error records:
Open the transformer's settings panel.
Click the  Settings button.
On the advanced settings panel of the transformer go to the Output for Records with Errors tab.
After executing the operations the Output for Records with Errors tab is displayed:

NOTE. The Output for Records with Errors tab is displayed in the example for the Union transformer. The panel appearance and the number of available outputs depends on the transformer type.
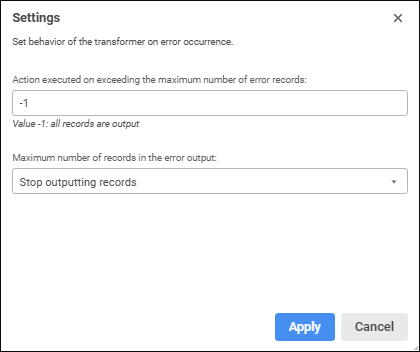
To set additional settings to be applied when there are error records, click the Settings button. The dialog box opens:

Specify the maximum number of error records, information about which is exported. The -1 value is set by default, in this case information about all error records is exported.
NOTE. If there is a number of error records, information export may slow down ETL task execution.
If the maximum number of output records is set, select the action executed if this number is exceeded. The following operations are available:
Stop Outputting Records. The value is set by default. If the maximum number of records is exceeded, their output is stopped.
Stop Task Calculation. If the maximum number of error records is exceeded, the task calculation is stopped.
To save entered parameters, click the Apply button.
See also: