In later versions of Foresight Analytics Platform extensions and their functionality can be changed. To use new capabilities and enable correct extensions work, update extensions in the corresponding platform version.
To update extensions in the desktop application, use component interface.
To update extensions in the web application, use the update manager. The procedure of update installation in the web application is described in the Installing Update section.
To update extensions in the desktop application, use interface of the component, which implements this extension. Execute the following operations:
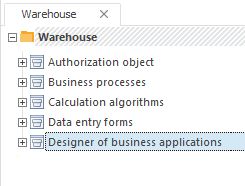
Select the required component in the repository tree:

Selection of the update component determines related components to be updated together with the selected component. See information about relations between extensions in the Installing Foresight Analytics Platform Extensions section.
Open the component for edit. To do this:
Click the  Edit button in the Open group on the Home ribbon tab.
Select the Edit item in the component's context menu.
Press F4.
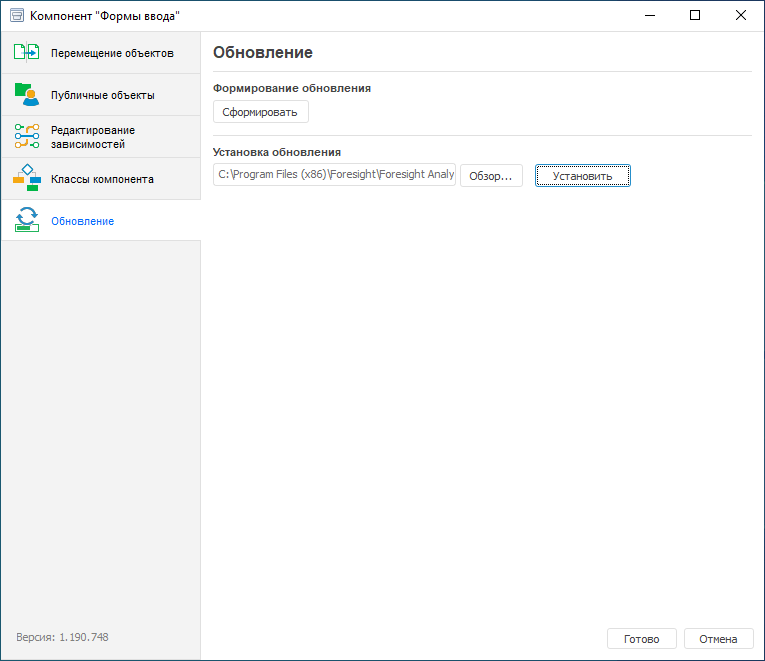
The selected component will be opened in the new window. Go to the Update tab and select the extension file corresponding to the component to be updated. To select the update file, click the Browse button. In the dialog box that opens specify file type:
Update. The dialog box contains a list of available files with the PEFX extension.
Update Package. The dialog box contains a list of available files with the UPDPACK extension.
The Update Package type is used by default. The list of files in use is presented in the Installing Extensions to Repository article. To install the update, click the Install button:
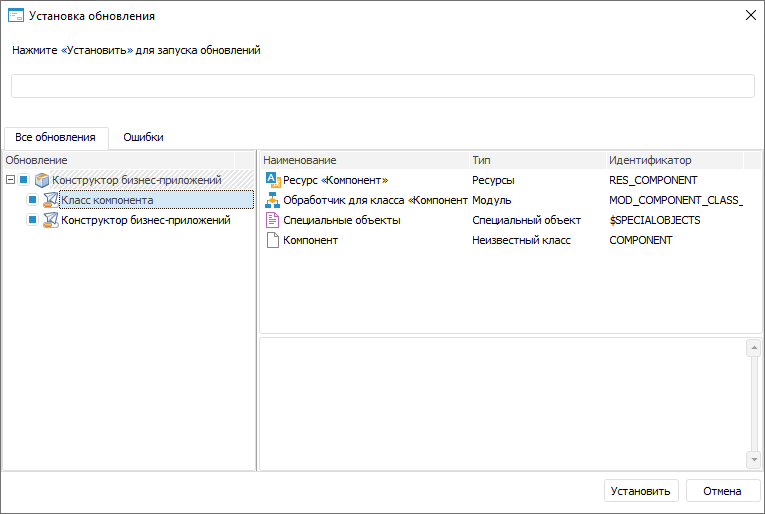
After the file is selected, the Install Update dialog box opens with information about the update. When the update file is opened, its contents is verified. The update can be installed if the file contains the necessary component and the component version is higher than that in the repository. To continue update installation, click the Install button:

After the operation is executed, the Install Update dialog box opens to start update process.
In the dialog box that opens select the components to be updated. By default, the selected component and all connected components are to be updated. If required, change the list of updated components by deselecting or selecting the corresponding checkboxes. To continue update installation, click the Install button:
NOTE. During the update messages and conflicts may appear. Conflicts occurring on installation of extension update via the component interface and their troubleshooting correspond with the conflicts occurring on update installation via the update manager.
After the update is completed, information about update results will be displayed on the tabs:
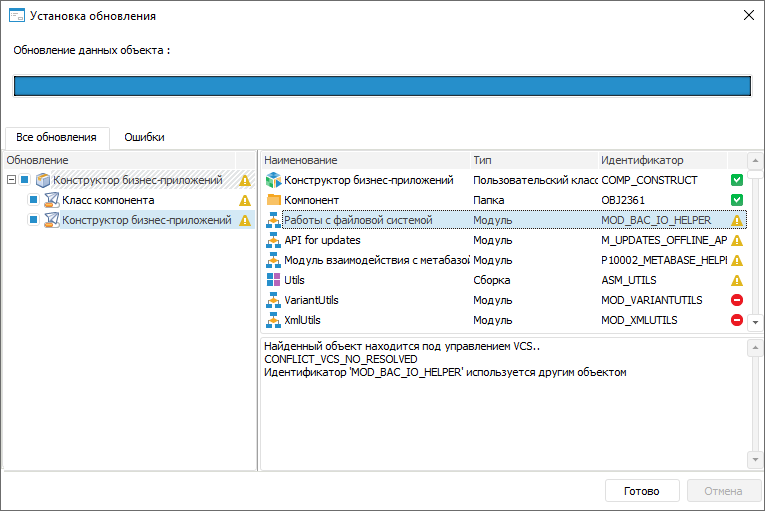
The update results for each object will be indicated with the icons:
 . The object is updated successfully.
 . Object update failed.
 . Object update was interrupted.
To view a message with the update result, select the object. In case of update finished with errors, all errors related with the selected object will be displayed in the box below.
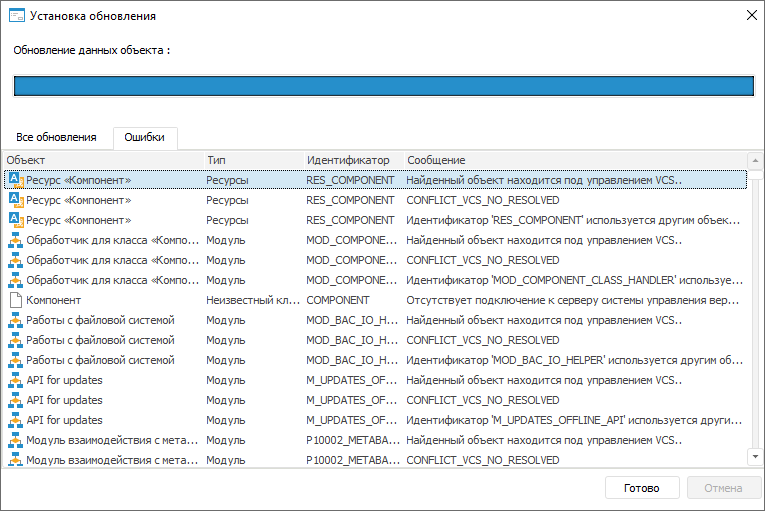
If there are several errors related with one object, each error will be displayed in a single line.
Errors may be related with:
Connection of object to version control system.
Matching identifiers of object to be updated and update object.
After the update is completed, the Update Installation Protocol folder appears in the object tree of the component to be updated. It contains text files with information about installed update, child updates, and error log.
See also: