In this article:
Setting Up Sidehead Structure
Sidehead structure includes dimension elements displayed in the table area sidehead and their display order.
To set up sidehead structure, use the Sidehead Structure page of the Table Area Wizard dialog box:

 Elements of the Sidehead Structure page

NOTE. If transposing was applied, the page will be named Heading Structure, in the advanced settings area, the checkboxes will be named Column Headers and Column Numbering, the Multilevel Table Heading checkbox will be added, the other settings remain unchanged.
To determine sidehead structure:
Set up elements in sidehead dimensions.
To determine additional settings of sidehead structure:
Change position order of dimensions in the sidehead.
Merge dimensions and tuck its elements for more compact sidehead display.
Group elements to merge dimensions by specified attribute.
Execute detailing of dimensions to set up navigation from dimension element to the object detailing its value. The command is executed in the left area.
To determine additional settings of sidehead structure:
Select the Row Headers checkbox in the additional structure settings area to display sidehead in table area. The checkbox is selected by default.
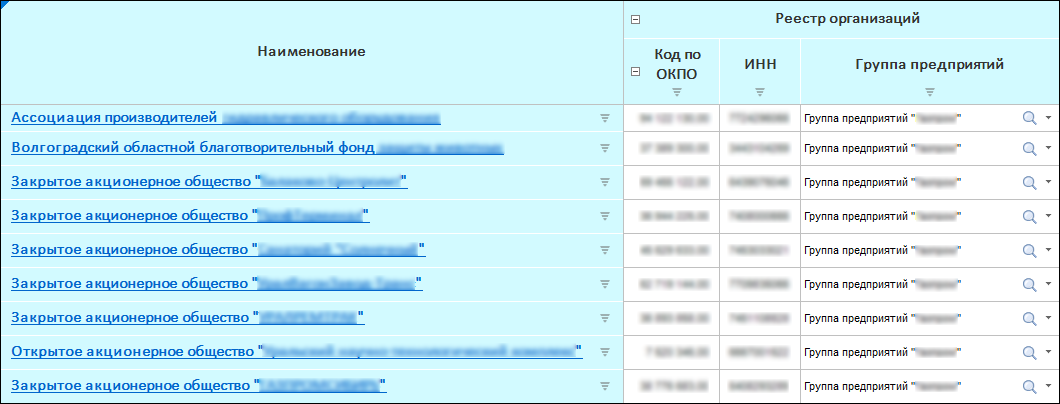
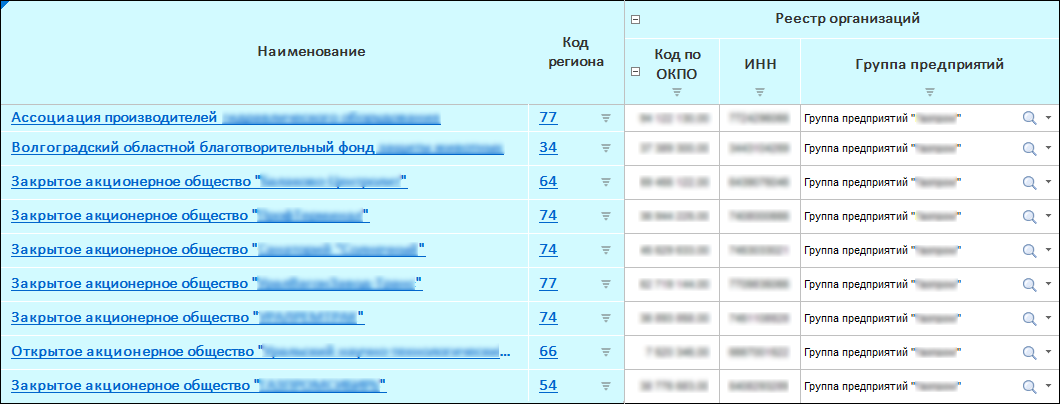
Set up element name displaying in form sidehead. To dot it, at the left area:
Select dimension.
Select the Names item in the dimension's context menu.
Select one or several dimension attributes, by selecting a checkbox next to the attribute.
NOTE. If several attributes are selected, each selected attribute will be displayed in table area in a separate column.
The example of additional attribute display
Select the Row Numbering checkbox in the area of additional structure setup for sidehead rows numbering. By default, row numbers will be displayed in a new sidehead column before headers. Numbering starts from rows containing data. To set up numbering, click the
 button, the Numbering dialog box opens. The setting is available when the Numbering of Rows checkbox is selected
NOTE. Numbering by rows can be set up after creating table area on editing. To do it, select a cell or a cell range of table area and select the By Rows item of the ![]() Numbering button drop-down menu on the Table ribbon tab. To additionally set up numbering, select the Set Up item in the
Numbering button drop-down menu on the Table ribbon tab. To additionally set up numbering, select the Set Up item in the ![]() Numbering button drop-down menu of the Table ribbon tab, the Numbering dialog box opens.
Numbering button drop-down menu of the Table ribbon tab, the Numbering dialog box opens.
Show or hide the numbering is available on working with ready form.
After the table area sidehead structure is set up, go to the Setting Up Indicators Structure step.
Setting Up Sidehead Dimension Elements
To set up sidehead elements:
Select elements displaying in table area sidehead by using dimension elements selection. The element selection in sidehead is available in left and right areas.
To select dimension elements from left area:
Select a group of elements in the Groups of Elements drop-down list of the dimension's context menu. Groups of elements selection is not a mandatory step.
Set selection of dimension elements. To do this:
Select the Edit item in the dimension's context menu.
Select the selection schema in the Selection Schema drop-down list in the dimension's context menu.
To set up selection by dimensions and dimension elements in the right area, if selection is not set to the left:
Set selection of dimension elements. To do this:
Select the Edit item in the dimension's context menu.
Click the
button after selecting the dimension.In the dialog box that opens select one of the filter options:
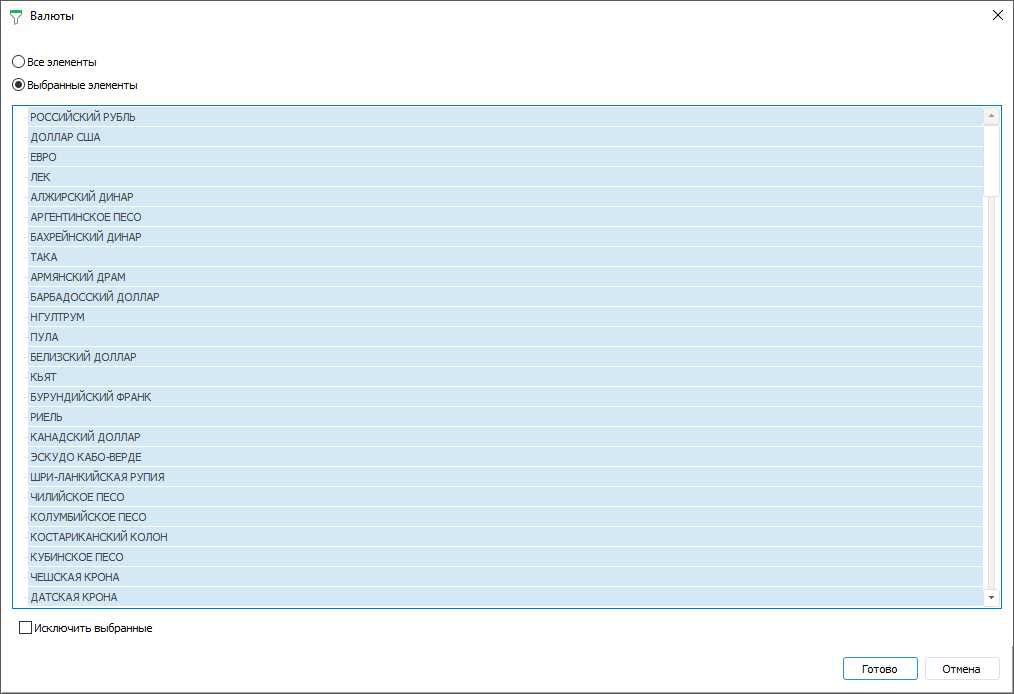
Filter options:
All Elements. All elements will be selected.
Selected Elements. Select only required elements or exclude selected elements from selection by selecting the Exclude Selected checkbox.
Finish selection by clicking the Finish button.
To reset selection determined at the right area, select the Reset item in the dimension's context menu.
Determine a set of dimension elements with hierarchy different from basic dictionary by selecting alternative hierarchy option in the Alternative Hierarchies drop-down list of the dimension's context menu.
Use the
 button to delete elements and dimensions selected in the right panel. It is possible to delete one or several dimensions and/or elements simultaneously. To select several dimensions and/or elements, use the SHIFT or CTRL keys.
Select the Dimension Name context menu item in the right area to restore the dimension deleted from the right area.
Execute these actions for each dimension.
NOTE. The Alternative Hierarchies, Selection Schema, Groups of Elements items are available if alternative hierarchies, selection schema, groups of elements are set up in dictionaries.
The order of alternative hierarchy, group of elements, selection schemas and advanced filter application
If on setting up sidehead dimension elements, the alternative hierarchy, group of elements, advanced filter and selection schema were selected, then they will be applied in the following order:
Alternative hierarchy.
Group of elements.
Advanced filter.
Selection schema.
Changing Dimension Positions
To change dimension position order in the sidehead, use the  and
and  buttons after selecting dimension at the left area.
Grouping Dimensions
Grouping of sidehead dimensions is applied to merge dimensions by specified attributes. Grouping is applied to elements of one dimension. If several dimensions are displayed in the sidehead, the first element of the next dimension will be displayed next to grouping element. If grouping is also set for the next dimension, the grouping element of the next dimension will be displayed. Grouping can be set for each dimension displayed in the sidehead.
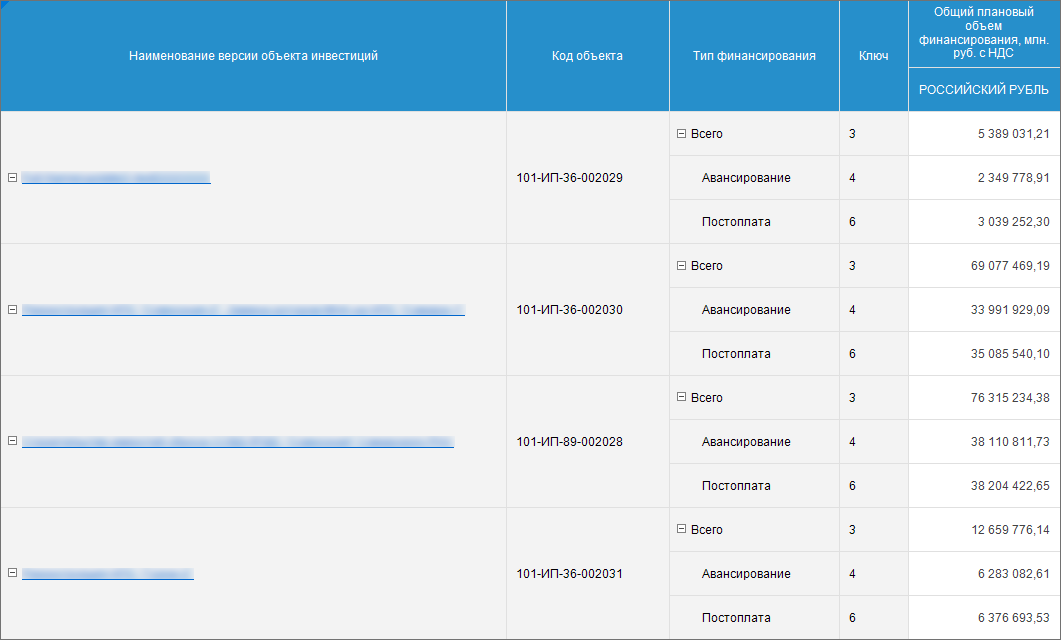
Example for one-dimension sidehead
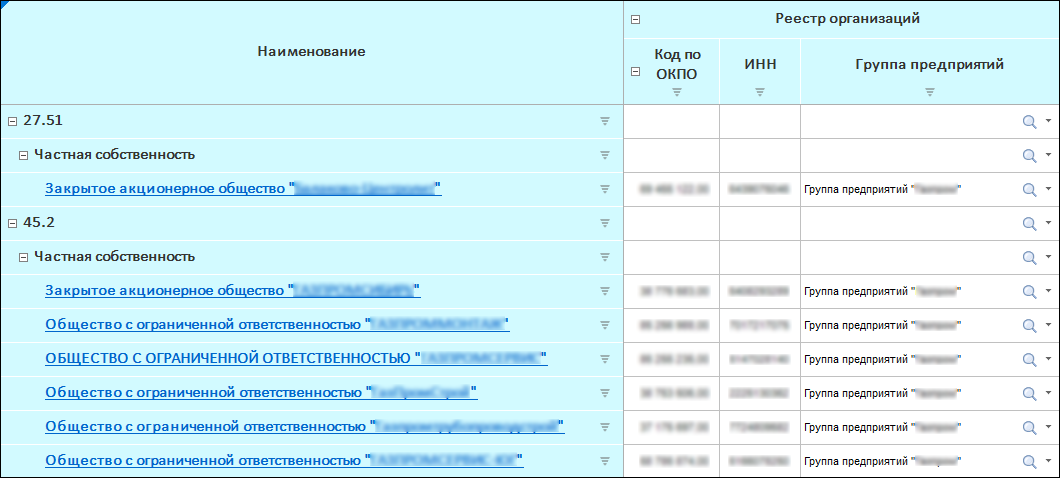
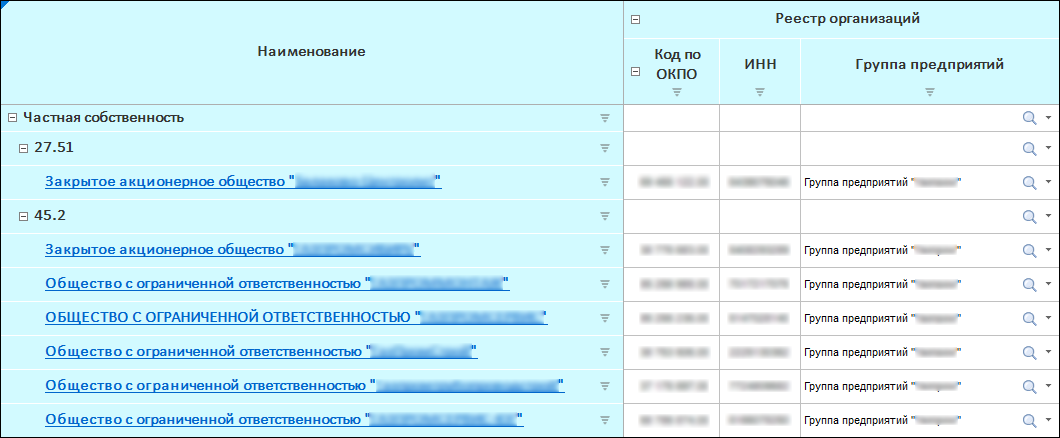
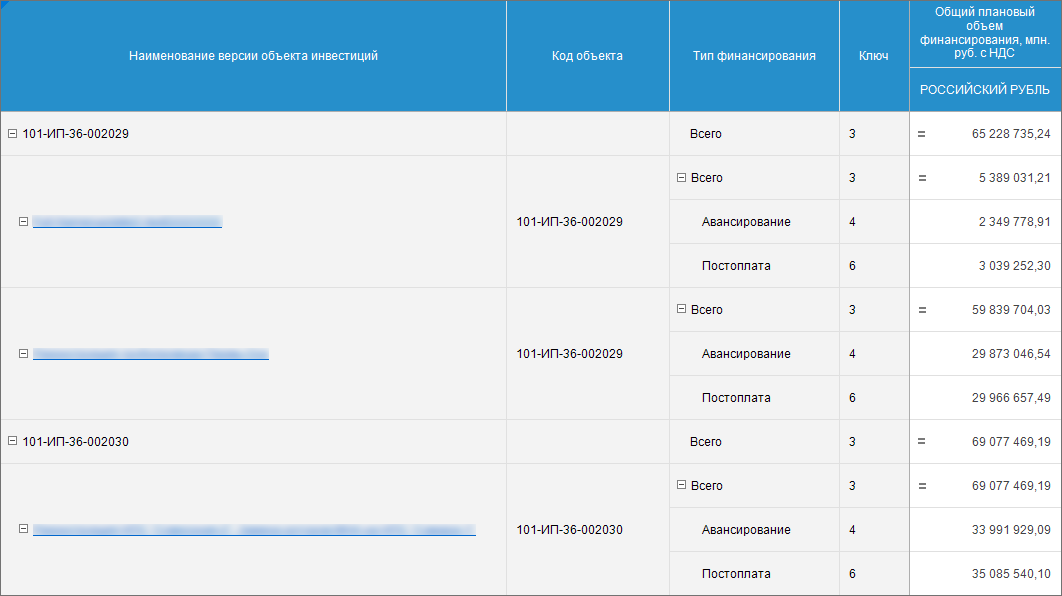
Example for multidimensional sidehead
To group dimensions:
Click the Group button to open the dialog box.
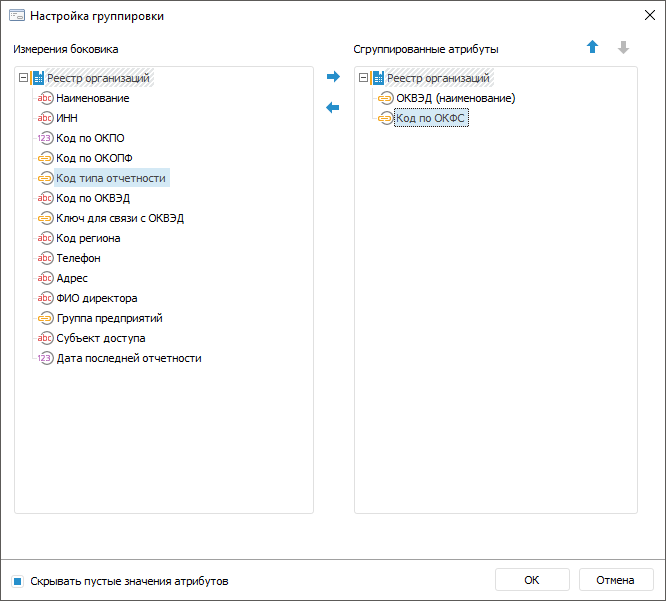
Select dimension or dimension attributes for grouping in the Sidehead Dimension area and move it using the
 button or dragging and dropping to the Grouped Attributes area. When attribute is moved, it will be deleted from the Sidehead Dimensions area and will be displayed in the Grouped Attributes area.
Delete attributes if there is no need to use them in grouping. To do it, select attribute in the Grouped Attributes area and move the using the
 button or Drag&Drop. If attribute is moved, it will be deleted from the Grouped Attributes area and will be displayed in the Sidehead Dimensions area.
Place attributes in the required order using the
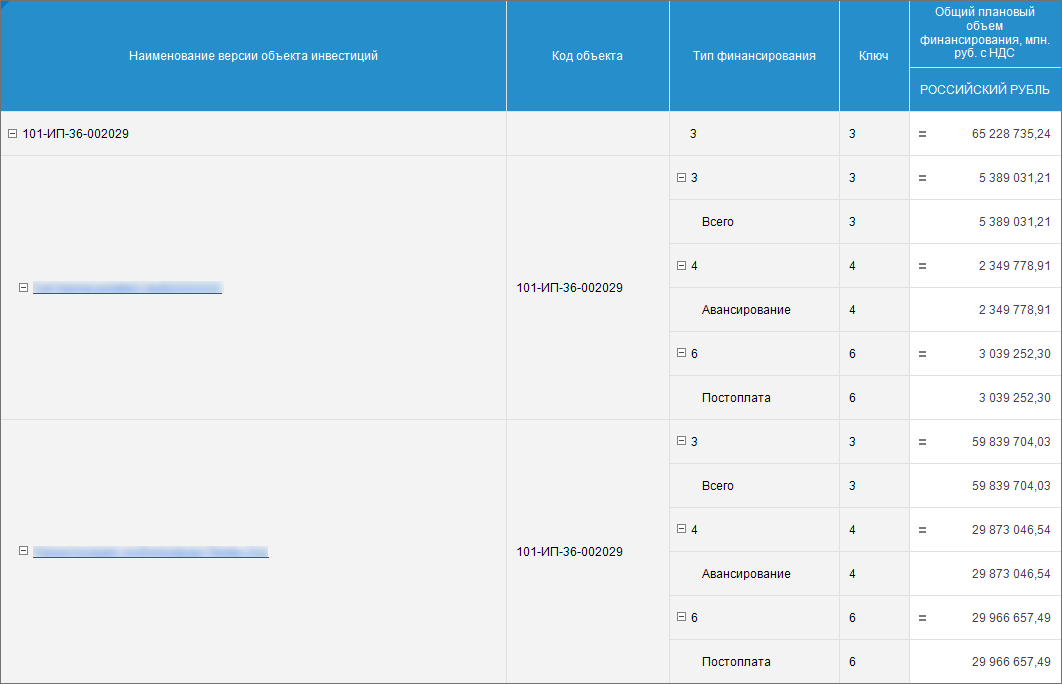
and buttons. The attributes location in the Grouped Attributes area affects the element order in the table sidehead. Several attributes can be moved at the same time. Select the Hide Attribute Empty Values checkbox to show only the attributes with defined values. The checkbox is selected by default. It is required to hide empty attribute values, if several attributes are not specified for elements. If there are hidden empty attribute values, then firstly
The example of the Hide Attribute Empty Values checkbox use
Finish the grouping by clicking the OK button.
To set up aggregation for grouped elements, use aggregation block in the Calculation Algorithms tool.