In this article:
Setting Up Showing/Hiding of Fields
Setting Up Data Model Filtering
Preview Table
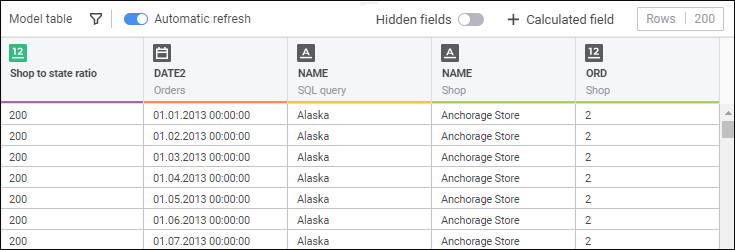
A preview table is used to check correctness of the created data model, to set data filtering rules, to add calculated fields to the model, and to execute data sampling from tables based on the specified SQL query.
The preview table displays the first 200 records of the specified model data:
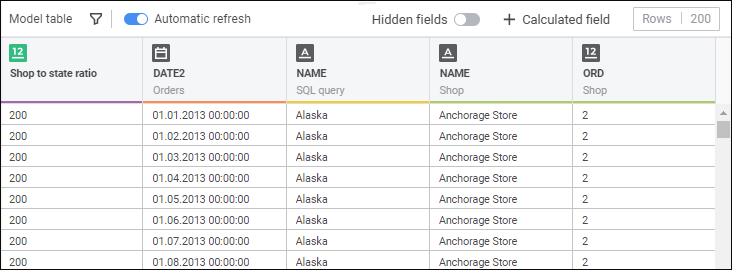
Preview table fields have the same colors, which the corresponding tables have in the data model.
Available operations in the preview table:
Setting Up Table Height
To change preview table height:
Hover the cursor on the table top border. The cursor changes to a two-headed arrow.
Hold down the main mouse button and move the border vertically.
After executing the operations, table height is changed.
Renaming Fields
To rename a field:
Execute one of the operations:
Select the
 Rename item in the drop-down menu of the
  Actions button of the field title:
Click the current field name.
Set a new field name.
As a result, a new name is set for the field.
Setting Up Showing/Hiding of Fields
Some table fields in the data model may not be used for further analysis. For example, these can be the fields with element codes or auxiliary values. The preview table allows for showing and hiding of unnecessary fields.
To hide the field, select the  Hide item in the drop-down menu of the Actions button in the field title:
To show the hidden field, select the  Show item in the drop-down menu of the Actions button in the field title.
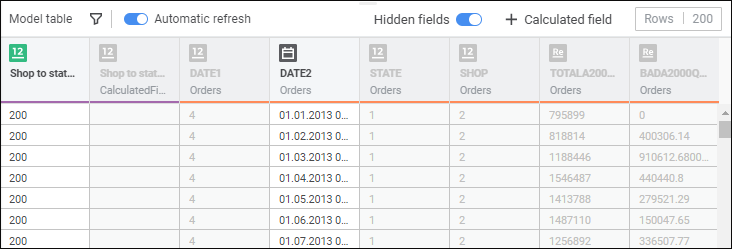
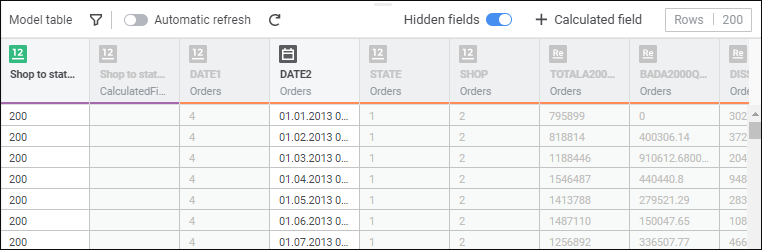
To show hidden fields in the preview table, use the Hidden Fields switch. The switch is active by default, and hidden fields are displayed:
If the Hidden Fields switch is inactive, hidden fields are hidden in the table:
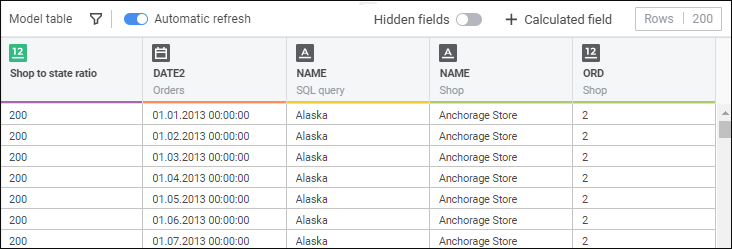
When showing of hidden fields is disabled, these fields will also be hidden on the control panel of the Information Panel tool.
Table Automatic Refresh
To set up automatic refresh of preview table, use the Automatic Refresh switch. The switch is active by default, and table data is refreshed each time a data model changes.
If the Automatic Refresh switch is toggled to inactive state, the  Refresh Data button is displayed for manually data refresh:
Setting Up Data Model Filtering
The preview table allows for setting filtering rules to limit model data sample. To set a filtering rule, use the Data Model Filter dialog box.
 To open the Data Model Filter dialog box

 Set Filter button in the preview table.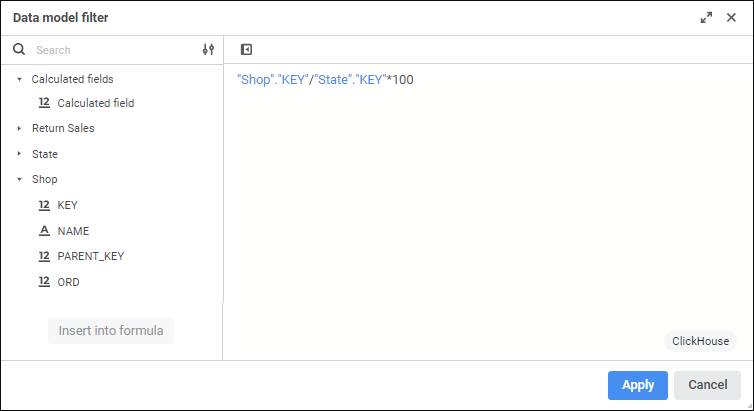
Features of setting filtering rules are described in the Setting Expressions section.
NOTE. The Data Model Filter dialog box can be used to set only logical expressions and SQL queries used for filtering.
After a filtering rule is set, the preview table is rebuilt:
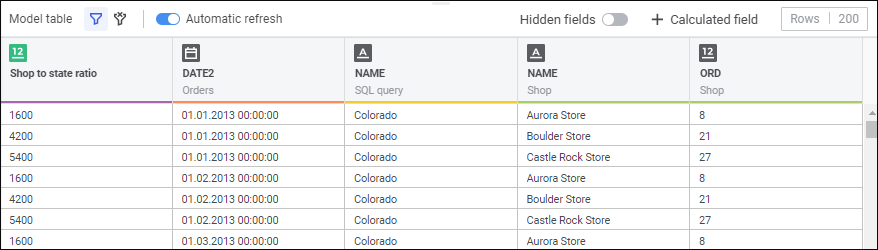
To edit the filtering formula, click the  Edit Filter button.
To remove the filter, click the  Reset Filter button.
Creating Calculated Fields Using Expressions
The preview table allows for creating additional fields, which values will be calculated by specified expressions. To set a calculated field expression, use the Calculated Field dialog box.
To open the Calculated Field dialog box
 Calculated Field button in the preview table.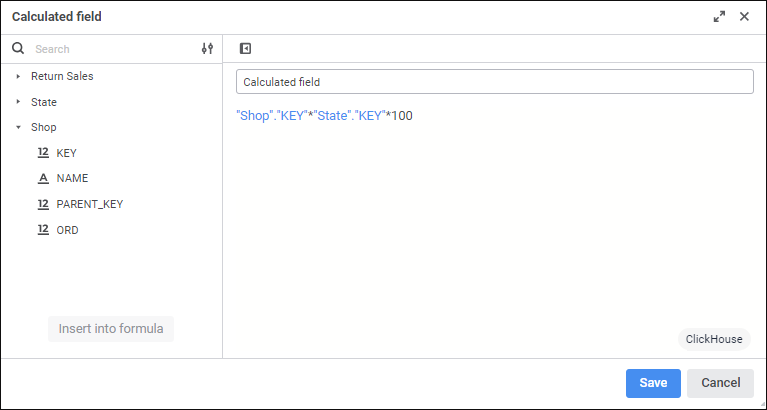
Features of setting expressions for calculated fields are described in the Setting Expressions section.
NOTE. The Calculated Field dialog box can be used to set expressions of any type and SQL queries. If a logical expression is set for the calculated field, the field can take only the 0 value for false expression and the 1 value for true expression.
After creating the calculated field will be displayed in the preview table:
The added field will also be displayed on the control panel of the Information Panel tool.
Operations with calculated fields:
Set up showing/hiding of fields
 Edit Formula item in the drop-down menu of the
  Georole item in the drop-down menu of the
  Delete item in the drop-down menu of the
 Managing SQL Queries
The preview table allows for setting SQL queries to limit data sample from data model tables. To set an SQL query, use the SQL Query dialog box.
To open the SQL Query dialog box
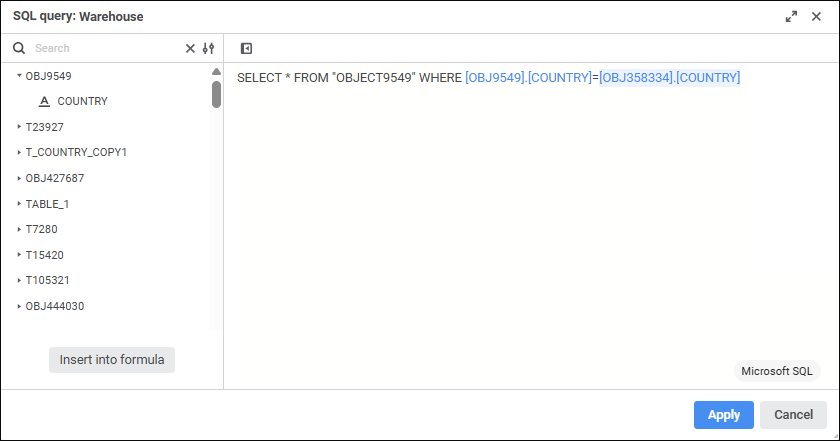
Features of setting expressions for calculated fields are described in the Setting Expressions section.
NOTE. Setting of SQL queries is available in all types of fields, except the Data type.
The fields with the specified SQL queries will be used to create visualizers in the Information Panel tool.
For automatic SQL query generation select the Dimension item in the drop-down menu of the  Actions button in the field and select the Auto option.