Open the Parameters dialog box:
In the web application select the
 Parameters button on the side panel of the object navigator.
In the desktop application select the Tools > Parameters item in the object navigator's main menu.
Go to the Custom Metadata page.
Create or edit the existing custom class on the Object Classes tab.
To create a custom class, execute one of the operations:
In the web application click the
 Add button.
In the desktop application:
Click the Add button.
Select the Add item in the context menu of the list of classes.
To edit the existing class, execute one of the operations:
In the web application:
Select the class and click the
 Edit button.
Double-click the class.
In the desktop application:
Select the class and click the Edit button.
Select the Edit item in the class's context menu.
Double-click the class.

 To open the dialog box
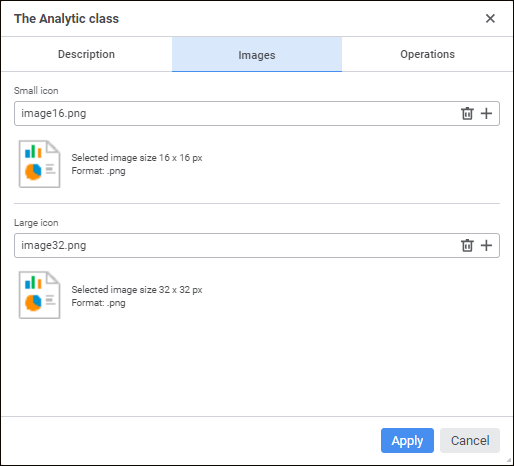
 Remove button in the Small Icon or Large Icon box.