After tasks have been created, start tasks for execution. Tasks can be started on the local computer in the scheduled tasks container or using task scheduler providing a possibility to execute resource intensive tasks on application server or BI server.
Tasks can be executed:
On a specified schedule.
On a condition: on calculating the specified function or validation rule with certain result.
After a certain system or custom event.
To start tasks, follow the steps:
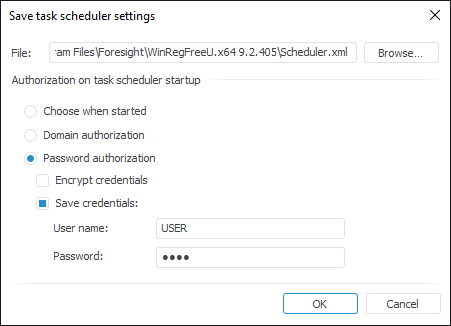
Create a configuration file. A configuration file is created automatically from scheduled tasks container. By default the configuration file is named Scheduler.xml, and it is saved to the the folder with installed Foresight Analytics Platform:

Starting scheduler as a service or with specified parameters:
Create a service. Creating a service allows for automatic starting of task scheduler on operating system startup. Depending on the OS where it is runned, the service creation differs. On working on Windows OS, the Windows OS service executes this function and on working on Linux OS it is implemented via init script for initialization system.
Start task scheduler. To start task scheduler, start the Scheduler.exe file in the folder with installed Foresight Analytics Platform. This starts a new instance of task scheduler, which is set up to use the Scheduler.xml configuration file. The start can be executed with predefined parameters.
The task scheduler polls the task container in specified time intervals and if the time has come, it executes the tasks. By default the task scheduler checks the existence of tasks every 5 minutes. If the time of task execution is the same for more than one task, they are executed simultaneously.
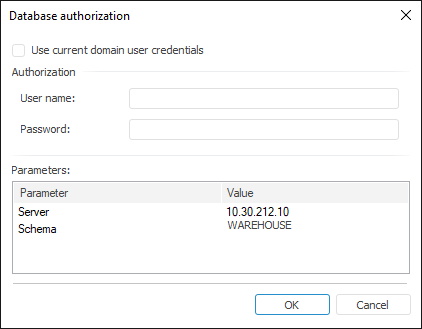
Authorization. If value of the <Credentials Authentication="0"/> parameter is set in the configuration file of task scheduler, startup of the task scheduler opens the Database Authorization dialog box opens to determine authorization type:

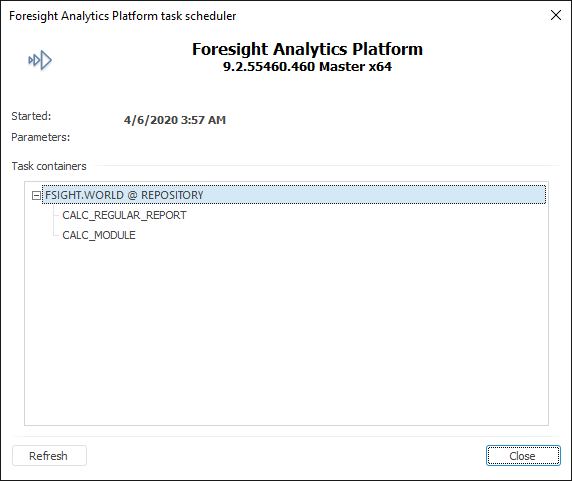
View and refresh scheduler settings. View and refresh of task scheduler settings is executed in the task scheduler main window:

To close scheduler:
Click the Close button in the task scheduler dialog box.
Select the Close item in the context menu for the  icon.
icon.
Clicking the Close button in the scheduler dialog box closes only scheduler dialog box, the scheduler continues working and it will be available in the notification area. To fully close the task scheduler, select the Close item in the context menu for the  icon.
icon.
After the task has been created, the following operations are available:
NOTE. When working with a number of tasks in the task scheduler, there are features of splitting task threads.
See also:
Creating a Service to Start Task Scheduler | Creating a Configuration File