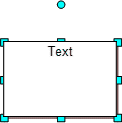
Each workspace object may contain some text.
To enter new text or to edit existing text, double click the selected object with a mouse to activate text editor.
Click outside the editor to finish editing.
The text created for a line is always positioned horizontally. Object, to which the text belongs, is rotated with the text.

The following context menu items are available when the edit mode is enabled:
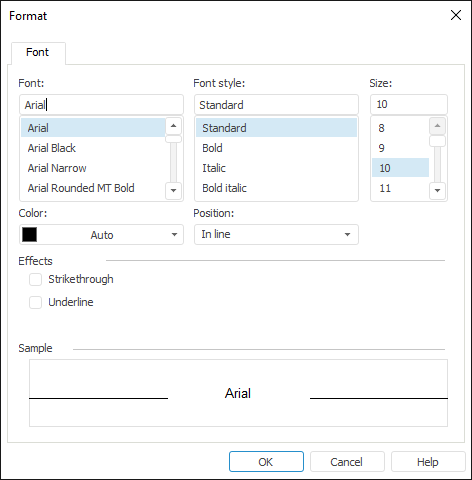
Format. Opens a dialog box to set up parameters of selected autoshape text:

The following settings can be adjusted on the Font tab:
Font. Sets font type.
Style. Set text style.
Size. Sets font size.
Color. Sets text color, which can be chosen in the drop-down list of standard colors.
Position. Sets text alignment relative to the line. Selection is executed in the drop-down list, which contains the following options: In Line, Superscript, Subscript.
Effects. Contains two checkboxes for converting the text to strikethrough and underline.
Sample. Shows the text formatted in accordance with selected parameters on the tab.
Undo. Undoes the last action.
Redo. Redoes the cancelled operation.
Cut. Cuts selected autoshape text to the clipboard.
Copy. Copies selected autoshape text to the clipboard.
Paste. Pastes data from the clipboard.
Select All. Selects the whole autoshape text.
Text position can be changed only for lines.
To change the position of line label relative to the line itself, select the line and drag text by dragging the yellow marker at the label center:
![]()
See also: