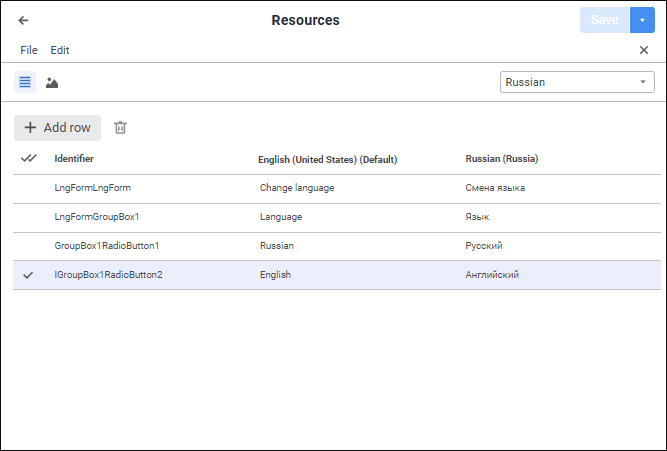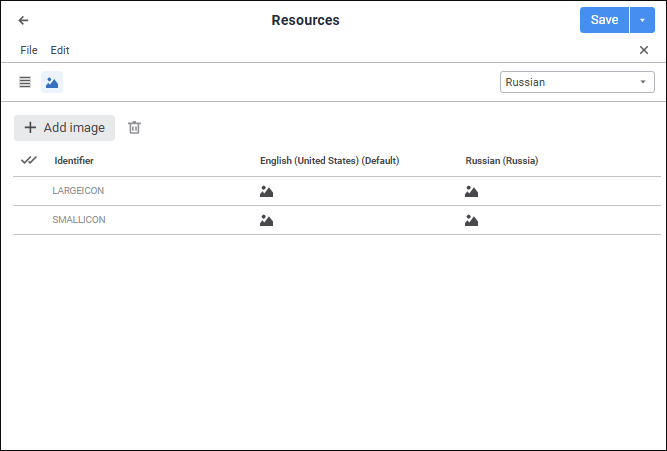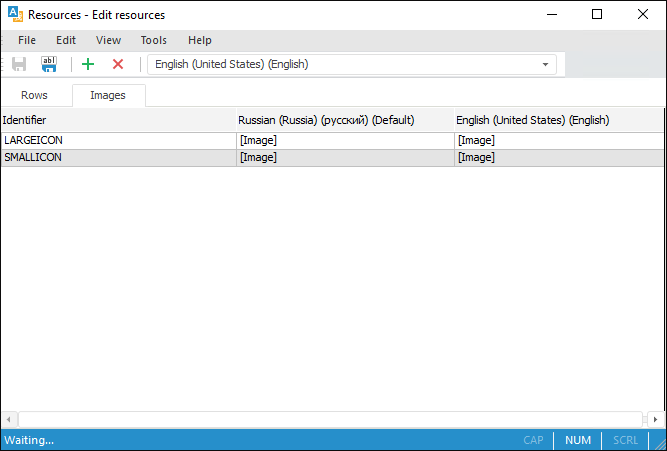

Resources are divided into the following types:
The resources list is created on the corresponding tabs: Strings and Images.
To add a string resource, use the Strings tab.


Add a new string:
Execute one of the operations:
In the web application:
Click the  Add String button on the toolbar.
Select the Edit > Add Resource > Add String main menu item.
Select the Create Resource context menu item in the resources list.
In the desktop application:
Click the  Add Resource button on the toolbar.
Select the Edit > Create Resource > Create String main menu item.
Select the Create Resource context menu item in the resources list.
Press the INSERT key.
Select the last table row highlighted with yellow and press the ENTER key.
After executing one of the operations a new string is added to the end of the resources list.
Enter translation for default and current translation language in corresponding cells.
Change resource identifier if required.
After executing the operations the string resource is added to a new string of the resources list.
To add a graphic resource, use the Images tab:


Add a new image:
Execute one of the operations:
In the web application:
Click the  Add Image button on the toolbar.
Select the Edit > Add Resource > Add Image main menu item.
Select the Create Resource context menu item in the resources list.
In the desktop application:
Click the  Add Resource button on the toolbar.
Select the Edit > Create Resource > Create Image main menu item.
Select the Create Resource context menu item in the resources list.
Press the INSERT key.
After this a standard file selection dialog box opens. Select the default language image. As a result, a new string with the selected image is added to the end of the resources list.
Select the localized image for the current translation language.
Change resource identifier if required.
After executing the operations the graphic resource is added to a new string of the resources list.
To select a localized image:
In the web application click the  Change button on the side panel. The standard file selection dialog box opens. Select the current translation language image:

NOTE. The side panel opens automatically after the default language image is selected.
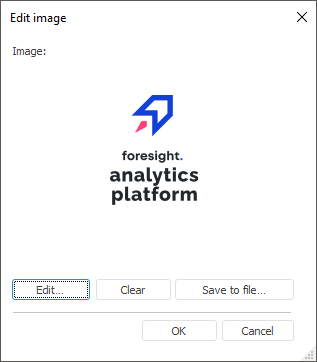
In the desktop application click the Edit button in the Edit Image dialog box. The standard file selection dialog box opens. Select the current translation language image.

After executing the operations the default language image is localized for the current translation language.
To delete the image:
In the web application click the  Delete button.
In the desktop application click the Clear button.
To save the image to a file click the  Save to File button.
See also: