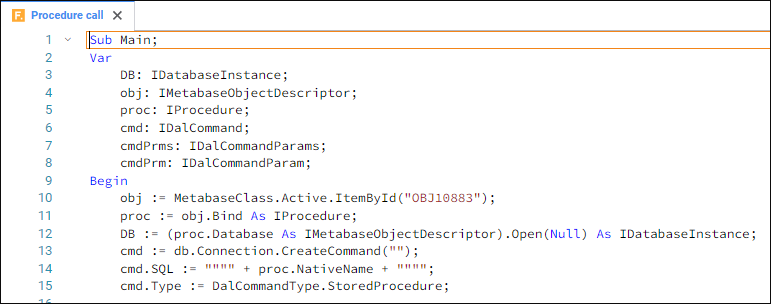
The macro window can be used to create or edit the main application code using the Fore language implemented in the platform.
Each window of the opened object corresponds to a tab. To change the active object, click the corresponding tab. The tabs have a context menu that is used to rename, save or close corresponding object.
If there are unsaved data, the tab name is marked with the * character. To save changes, click the Save button at the top right corner or press CTRL+S.
To close the current object, use corresponding context menu items in the tab area or press CTRL+ALT+W. If there are unsaved data, the data saving dialog box opens.
Code is written in the Fore language. For details see the Fore Language Guide section.
For details on advanced code development options see the following sections:
In case of large macros, one can use two drop-down lists in the upper part of the macro window to make code navigation easier.

To show the lists, select the View > Code Navigation main menu item.
The first list contains names of all classes and namespaces implemented in a unit. The second list includes all variables, procedures, functions and custom properties described in the selected class. To go to the required code block, first, select the appropriate name of the class (namespace) and then the name of the required procedure (function, variable, and so on). If a unit contains no descriptions of classes (namespaces), the first list shows only the global namespace, that is, Global Scope.
The right part of the toolbar contains buttons for working with code navigation history. To return to the previous code position, click the  button or press ALT+LEFT. The button has a drop-down menu with a list of previously used code positions. To go to the next code position that has been created before, click the
  button or press ALT+RIGHT.
To quickly go to the required line, select the Edit > Go to Line main menu item, or press CTRL+G. In the dialog box that opens enter line number.
To make the search for the required line easier, you can enable the code line numbering:
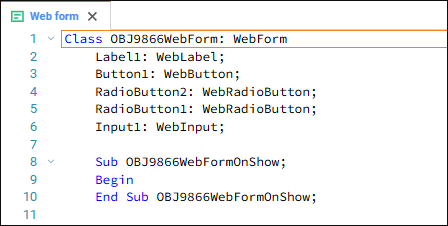
To do this, select the Show Line Numbers checkbox in IDE settings.
One can quickly move between the objects implemented in the code and their description. Use one of the ways to open the description:
Hold down the CTRL button and click code element.
Put the cursor in the code element area and press F12.
Put the cursor in the code element area and select the Go to Definition context menu item.
If system classes/procedures/functions are used, one can go to the appropriate element and its description in the class inspector. When the cursor hovers over custom code elements, one can go to the place where the called classes/procedures/functions are implemented.
See also:
Developing User Application | Running and Debugging