Click the  Assembly Inspector button on the side panel in the web application or the
  button on the toolbar in the desktop application.
The Assembly Inspector panel/dialog box displays a tree-type structure including all repository assemblies and system assemblies connected to the current assembly/web form/unit.
To open the Assembly Inspector panel/dialog box:
Click the  Assembly Inspector button on the side panel in the web application or the
  button on the toolbar in the desktop application.
Select the View > Assembly Inspector main menu item.
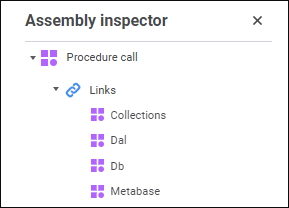
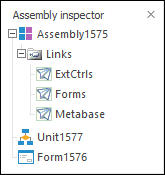
Links can be added to system assemblies, custom assemblies, units, and Python modules, forms and web forms. To set up links, execute one of the operations:
In the web application:
Double-click the assembly in the project navigator.
When an object os opened in the development environment, double-click Links element or click the the  button in the assembly inspector.
In the desktop application:
In the project navigator double-click the assembly or the Links or Add Link assembly element.
In the project navigator select the Links in the assembly's context menu or the Edit item in the the Links assembly element's context menu.
When an object is opened in the development environment, select the Assembly > Edit Links main menu item.
When an object is opened in the development environment, double-click the Links element in the assembly inspector or select the Repository Assemblies/System Assemblies context menu item.
After executing the operations the link editing dialog box opens:
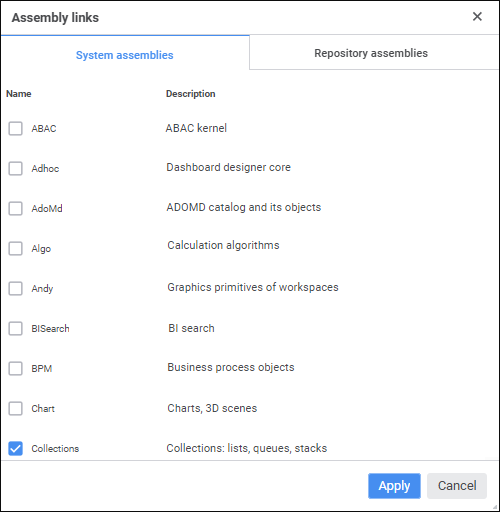
The System Assemblies tab shows the list and brief description of system assemblies of the development environment. To connect the assembly, select the checkbox next to it. In the web application the tab looks as follows:
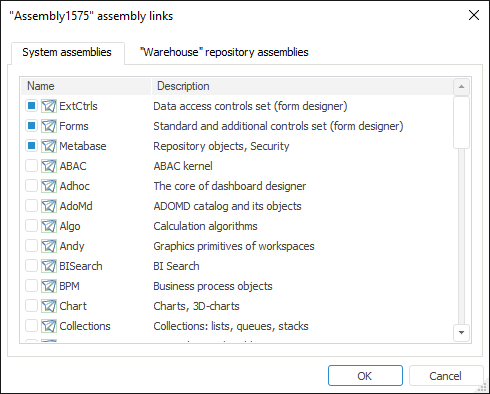
In the desktop application the tab looks as follows:
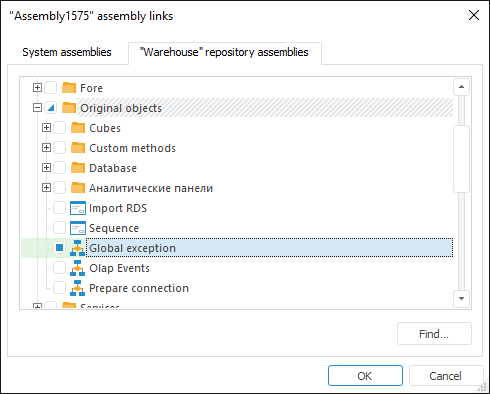
The Repository Assemblies tab shows all assemblies, units, Python modules, and forms of the repository represented as a tree. To connect an object in the web application, select it; in the desktop application select object's checkbox. Selecting a folder in the desktop application connects all objects contained in it. The Find button enables the user to quickly find and connect the required object.
One can add links to shortcuts referring to development environment objects. If one changes a shortcut to the object in the settings, it is automatically used in all objects, which have a link to the shortcut. These objects do not require to be set up again. In the web application the tab looks as follows:
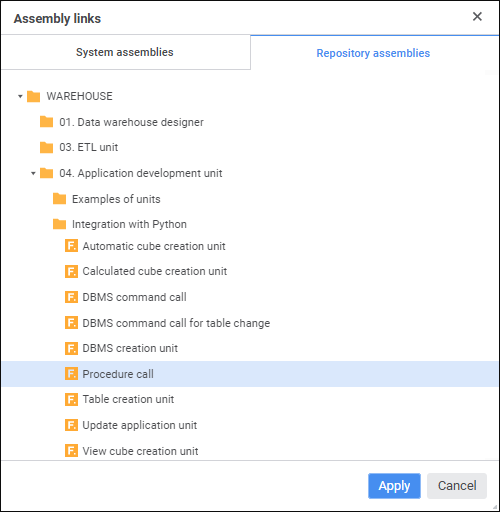
In the web application the tab looks as follows:
See also: