
The update can be installed only by the user included to the Administrators built-in group.
TIP. Before installing the update, study the Features of Update Installation section.
The update is installed:
In the desktop application:
Select the Navigator > Update Repository Objects main menu item in the Object Navigator dialog box.
Select the Repository > Version Update > Run main menu item in the Security Manager dialog box.
In the web application:
Select the Navigator > Update Repository Objects main menu item in the Object Navigator window.
Select the Tools > Update Manager item in the Object Navigator window.
NOTE. On separating the administrators roles for the proper update, use the update file of the corresponding type.
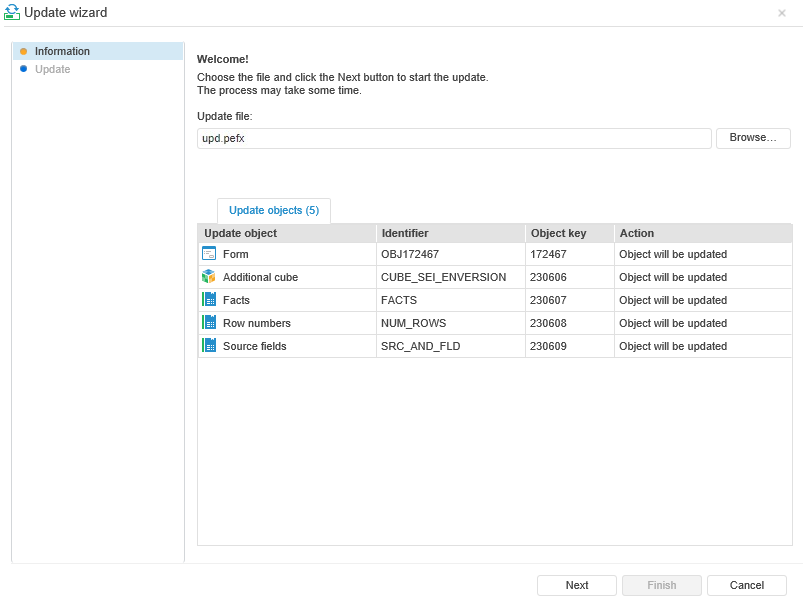
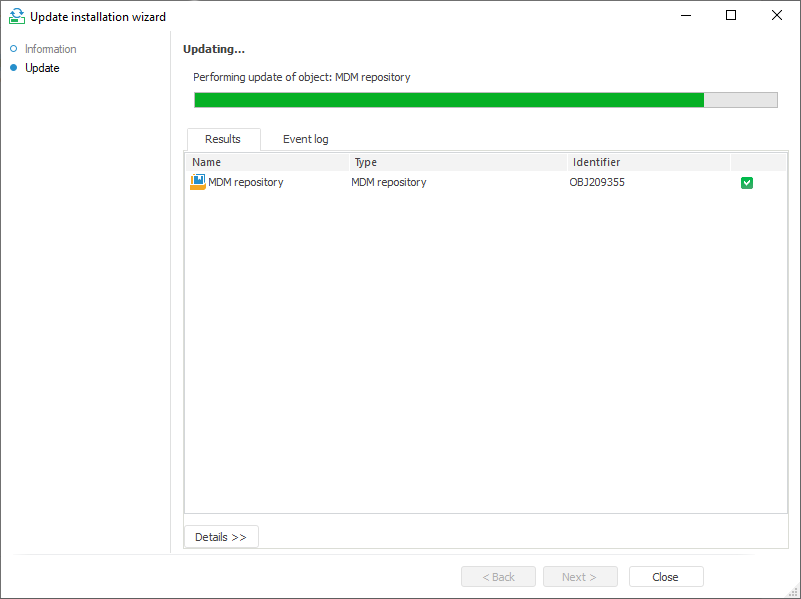
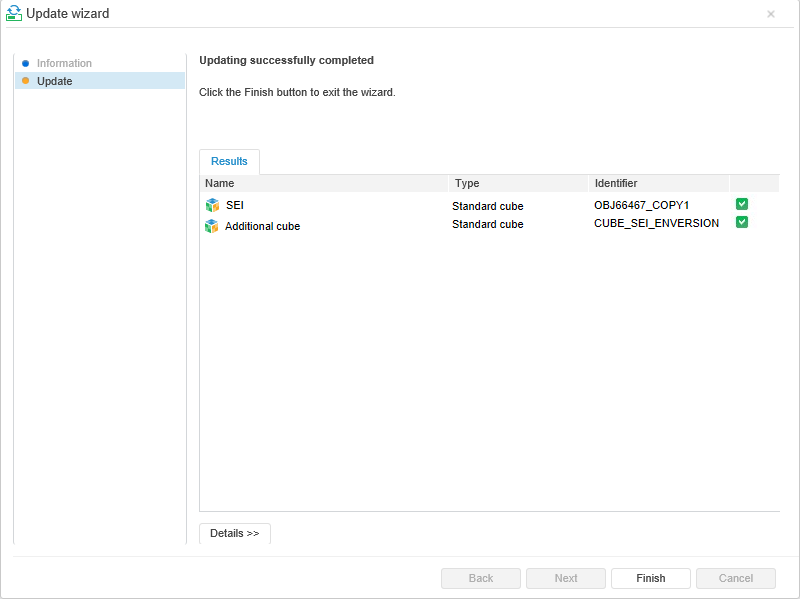
Then a standard dialog box opens to select a file. Specify path to update file with the *.pefx extension. After selecting the file, click the Open button. The update installation wizard opens containing the following pages:


NOTE. When selecting any method of access control the file is correctly updated, which elements are available for the user.
The UpdateManager utility is used to install updates from pefx files in Linux OS, the utility is included into Foresight Analytics Platform. A graphic display is required for utility work.
To install the update, execute the following command in the terminal:
./UpdateManager REPOSITORY LOGIN PASSWORD PEF-FILE
Where:
REPOSITORY. Repository identifier.
LOGIN. User name.
PASSWORD. Password.
PEF-FILE. Path to pefx update file.
To display Help on the utility, execute the following command in the terminal:
./UpdateManager
If SSH remote access is used, specify a graphic display. To do this, before the utility start export an environment variable, for example:
export DISPLAY=:0
If an Oracle DBMS based repository is used, specify the TNS_ADMIN variable with the path to the TNS file.
See also:
Working with Ready Update | Features of Update Installation | Update Process