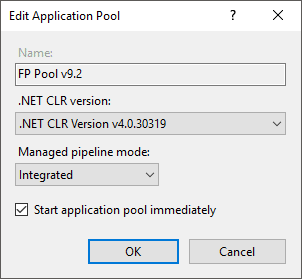
Correct operation of components of Foresight Analytics Platform web application requires virtual directories created by standard means of Internet Information Services: FP_App_v<X>x64 and FPBI_App_v<X>x64, the pools: FP Pool v<X> and FPBI Pool v<X>x64, where <X> is a version of Foresight Analytics Platform. For example, names of virtual directories for Foresight Analytics Platform 9.2: fp_App_v9.2 x64 and fpBI_App_v9.2x64, the pools fp Pool v9.2 and fpBI Pool v9.2 x64.
In the web server the directories and pools are created automatically on installation of Foresight Analytics Platform web application (FP9WebServer.exe).
If no virtual directory was created at the web server due to some reason, it should be created manually.
Check settings, to do this open the Internet Information Services manager:
In the Connections tree select the Application Pools section.
Select the Basic Settings context menu item for the fp BI Pool v9.2 x64 and fp Pool v9.2 pool. Make sure that the Built-In controlled conveyor mode is selected:

In the Connections tree, in the Sites section, select the Default Web Site item, after which a list of virtual directories is displayed. Make sure that for fp_App_v9.2 virtual directory the fp Pool v9.2 pool is specified in settings, and for fpBI_App_v9.2 x64 – fpBI Pool v9.2 x64. To open properties, select the Basic Settings item in the Actions dialog box located to the right.
In the Connections tree select the root element and double-click ISAPI and CGI Restrictions:
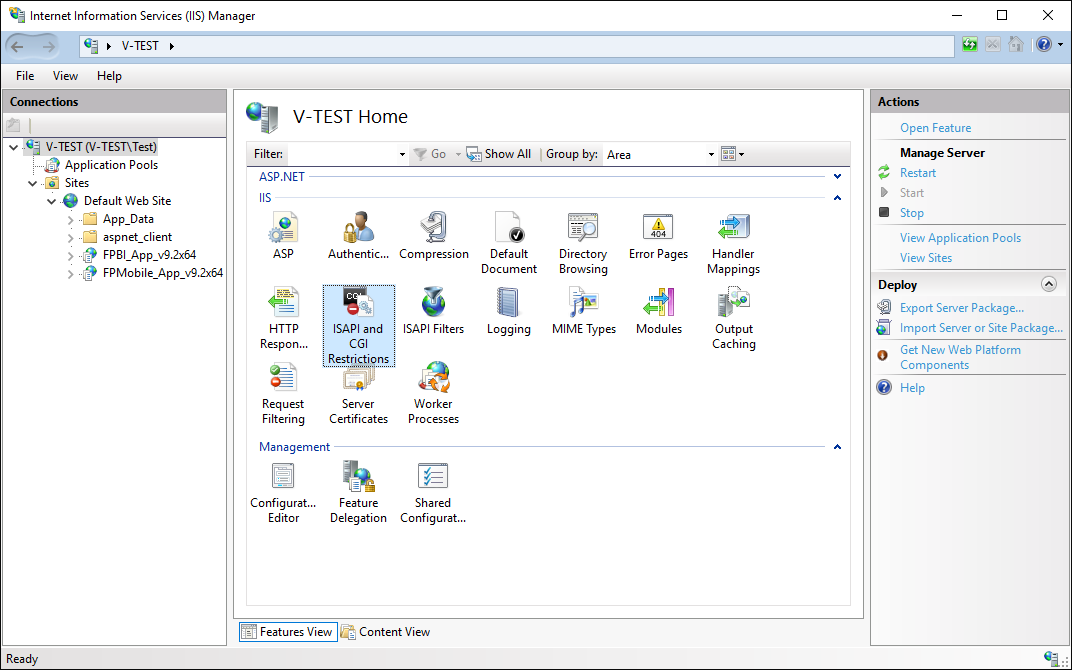
For the ASP.NET v4.0.30319 and Axis2 v9.2 x64 strings the Restriction column must display Allowed:
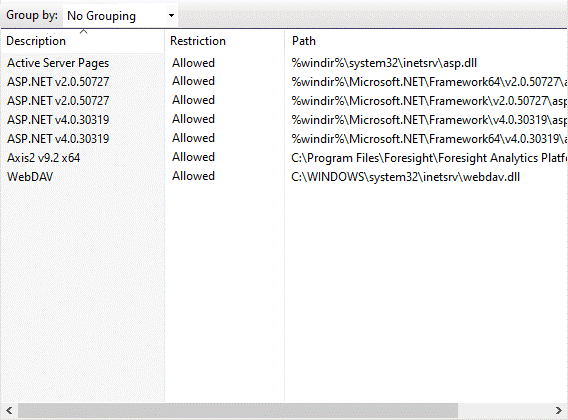
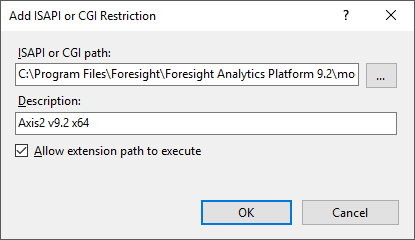
If it is not, open the editing dialog box and select the Allow Extension Path to Execute checkbox for each string. If the ASP.NET v4.0.30319 string does not exist, set up Microsoft .NET Framework 4.5.2.
If the Axis2 v9.2 x64 string does not exist, the Foresight Analytics Platform library is not registered, add it manually:
In the Connections tree select the fpBI_App_v9.2 x64 virtual directory and double-click Handler Mappings:
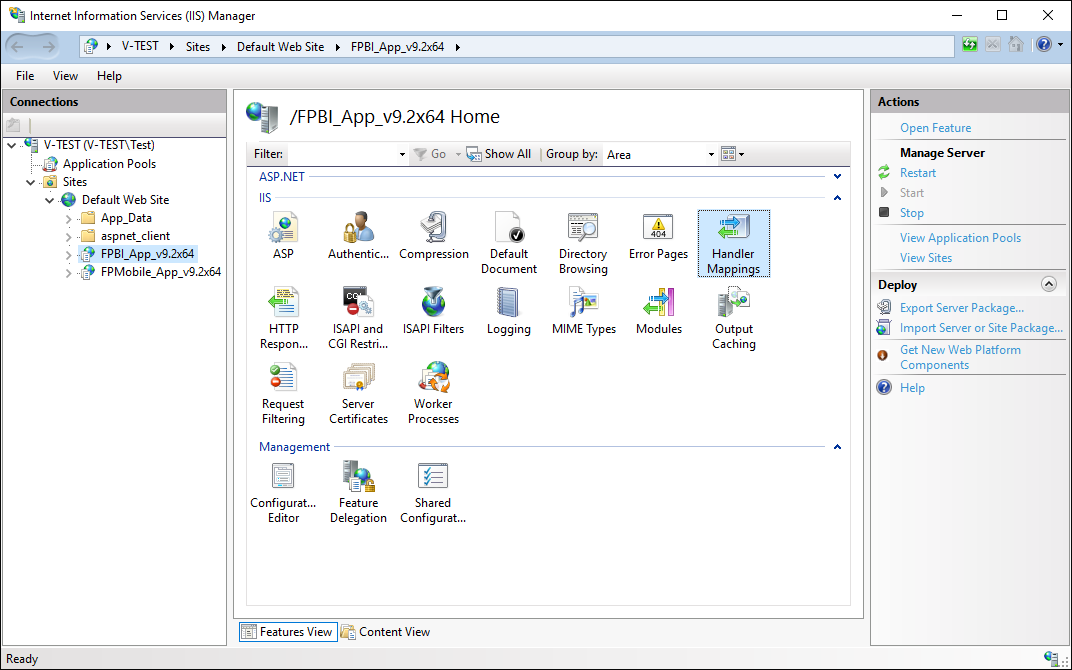
The list that opens must contain the string:

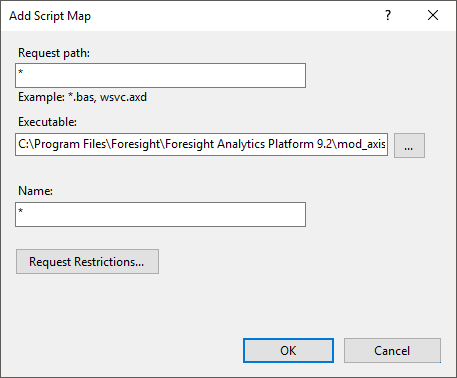
If it does not contain the string, create it manually as shown below:
To ensure correct handling of web application errors by web server and output of detailed error messages, execute the operations:
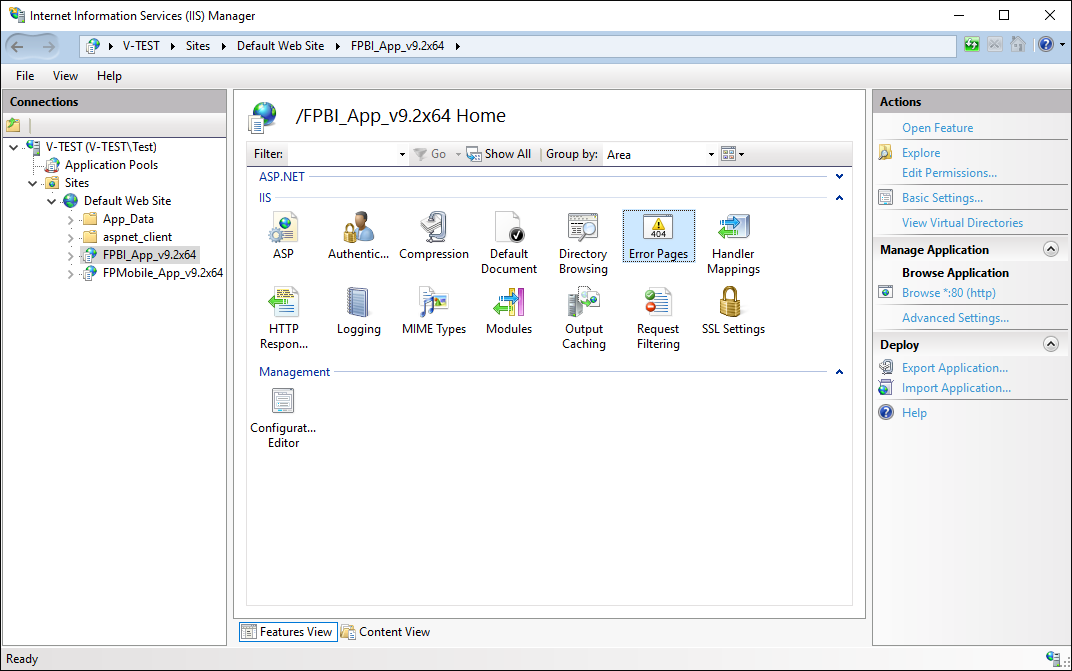
Make sure that the fpBI_App_v9.2 x64 virtual directory is selected.
Select the Error Pages element and select the Open Feature context menu item:
The Error Pages area opens:
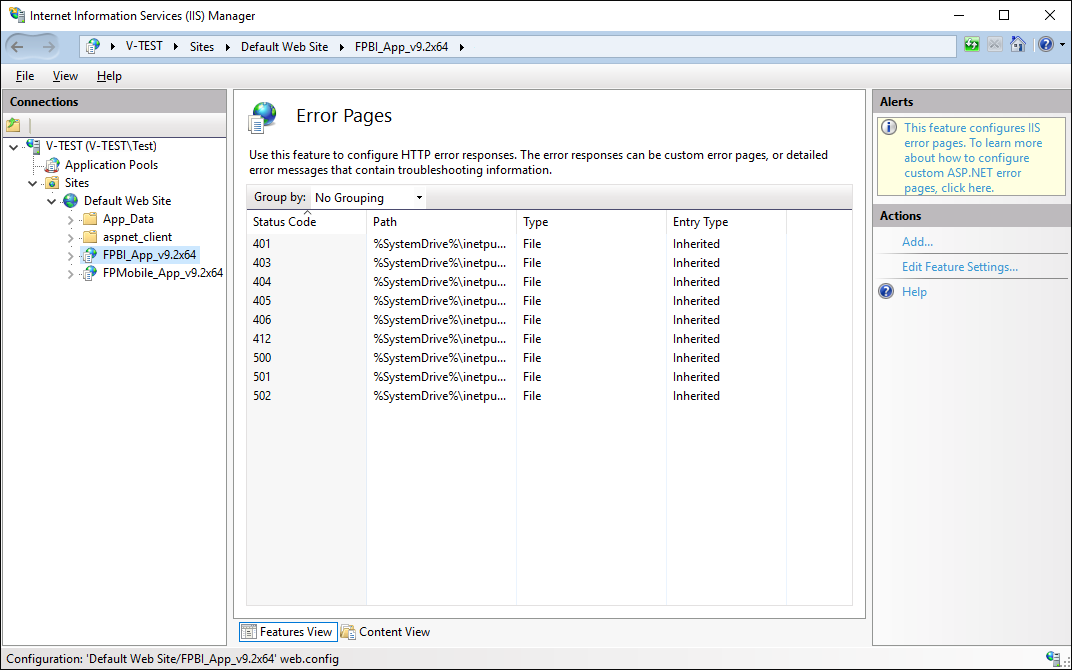
On the Actions panel select Edit Feature Settings. The Edit Error Pages Settings dialog box opens:
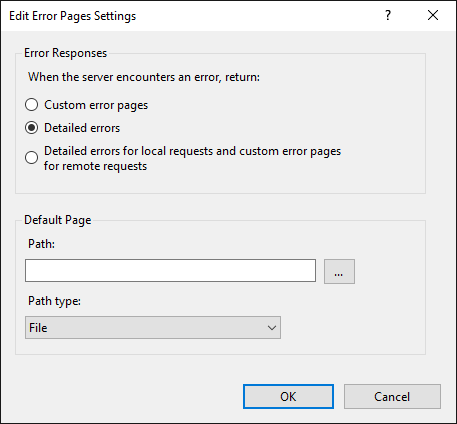
Select the Detailed Errors checkbox.
Save settings by clicking the OK button.
See also: