
 To display the Report tab
The Trellis Chart plugin displays data as a set of small similar charts, and allows for easy data comparison.
NOTE. The plugin is available only in the web application.
To connect the plugin:
The PP.xml file must have the following string:
<pp>
    …
    <modules>
        <dashboard>
            <reportBox ServicesPlugins="true"/>
        </dashboard>
    </modules>
    …
</pp>
Plugin file must have defined structure.
For details about setup of the PP.xml file, about plugin structure and its connection see the Connecting Plugin in the Web Application subsection.
To insert the plugin, use:
The Trellis Chart item in drop-down menu of the Plugins button on the Home or Insert ribbon tab.
The Trellis Chart item in the drop-down menu of the New Block > Plugins item in the dashboard's context menu.
Then set a data source for the plugin. Use the Report tab on the side panel. The tab displays all data sources in the repository available for the plugin. Select the corresponding element in the tree of objects to select or change the data source.
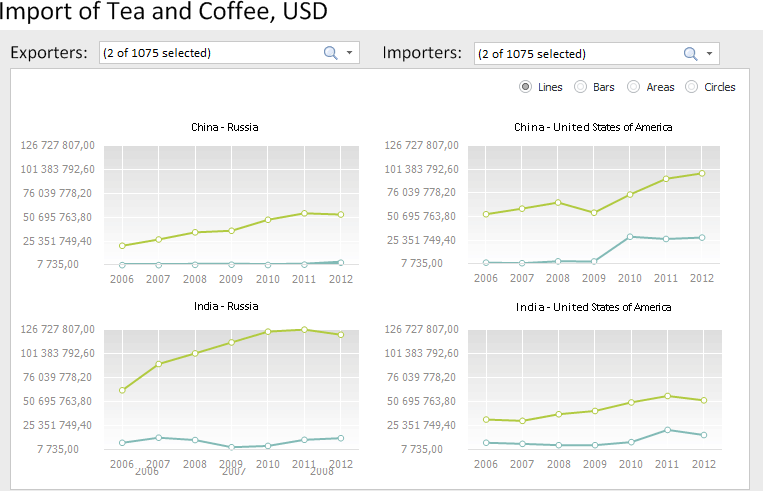
The example of a dashboard with the Trellis Chart plugin:
NOTE. Trellis chart appearance depends on the settings determined in the plugin file.
All operations with objects described in the Building Dashboard section are available for trellis chart.
See also:
Inserting and Setting Up Plugins
