Operating system requirements: iOS 5.0 or later.
Mobile device: iPad.
This example draws map layer area with the CA identifier.
Executing the example requires to place the following code in the body of the executeExample method of the ViewController class (see the Creating a Map with a Timeline section):
// Get map layer
MapLayer *layer = [[m_view layers] objectAtIndex:0];
// Get map layer area
MapShape *shape = [layer shapeWithId:@"CA"];
// Create a layer area
CAShapeLayer *shapeLayer = [CAShapeLayer layer];
// Set the path describing graphic area
[shapeLayer setPath: [shape path]];
// Set area border color
shapeLayer.strokeColor = [[UIColor colorWithHex:@"#ffa604"] CGColor];
// Determine border thickness
shapeLayer.lineWidth = 3.0;
// Set area border color
shapeLayer.fillColor = [[UIColor colorWithHex:@"ebebeb"] CGColor];
// Reduce graphic area size 4 times
[shapeLayer setTransform:CATransform3DMakeScale(0.33, 0.33, 0.33)];
// Add layer to map
[self.view.layer addSublayer:shapeLayer];
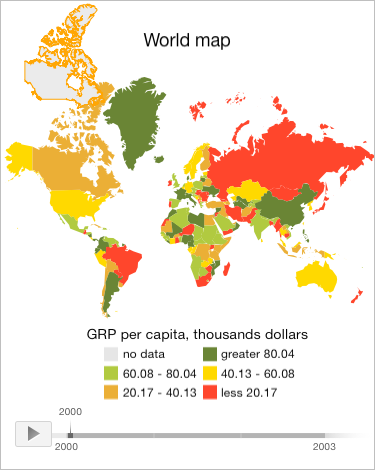
After executing the example one more map layer area with the CA identifier is drawn on the map that has an orange border 3 pixels wide and filled with gray color:

Then draw a graphic area by using the last path in the array stored in the MapShape.paths property: to do this, in the example:
[shapeLayer setPath: [shape path]];
replace the code fragment with the following one:
NSArray *paths = [shape paths];
shapeLayer.path = [[paths objectAtIndex:[paths count] - 1] CGPath];
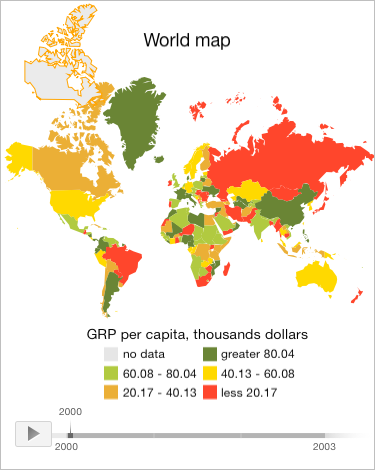
After executing the example the width of drawn map layer area border is reduced:

See also: