Operating system requirements: iOS 5.0 or later.
Mobile device: iPad.
This example describes creating an expander in a simple data grid. After starting the example the following operations are executed:
An expander is created.
Table rows are expanded and collapsed.
Table columns are expanded and collapsed.
Sets and removes whether bold font style is applied to text in table parent cell.
Executing the example requires to place the following code in the body of the executeExample method of the ViewController class (see the Creating a Simple Data Grid section):
// Get style of cells that are row headers
NuGridCellStyle *headerStyle = [proxyDatasource gridViewGetDefaultStyleForRowHeader:[contr gridView]];
// Set bold font style for table parent cell
[headerStyle setBoldForParent:YES];
// Get table cell with the coordinates A0
NuGridExpandableCell* startCell = (NuGridExpandableCell*)[proxyDatasource gridView:
[contr gridView] cellInRow:0 inColumn:0];
// Set default style for this cell
[startCell setStyle:[NuGridCellStyle deafultStyle]];
// Determine table cell, which row borders the collapsed range
NuGridCell* endCell = [proxyDatasource gridView:[contr gridView] cellInRow:2 inColumn:2];
// Determine grouped cell range
struct NuGridRange gridRange;
gridRange.startCell = startCell;
gridRange.endCell = (NuGridExpandableCell*)endCell;
[proxyDatasource setGridRange:gridRange];
// Collapse table row
[proxyDatasource gridView:nil collapseRow:[startCell rowNumber]];
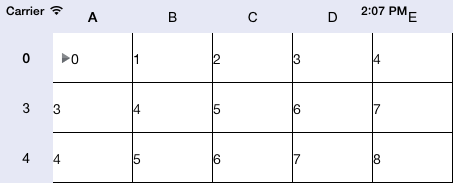
After executing the example an expander is created, the rows with the 1 and 2 numbers are collapsed, parent cell text has bold font style:

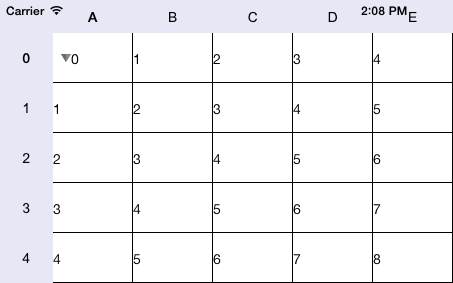
After pressing the expander its icon is changed, and the rows with the specified numbers are expanded:
Change the example by replacing the code string
[proxyDatasource gridView:nil collapseRow:[startCell rowNumber]];
with the following string:
[proxyDatasource gridView:nil collapseColumn:[startCell columnNumber]];
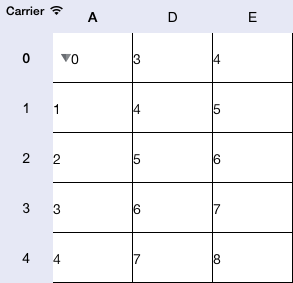
After executing the example the B and C table column are collapsed:
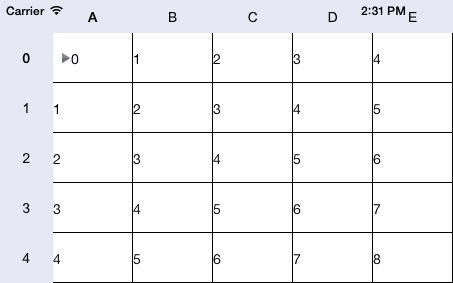
After pressing the expander its icon is also changed, and all columns are expanded:
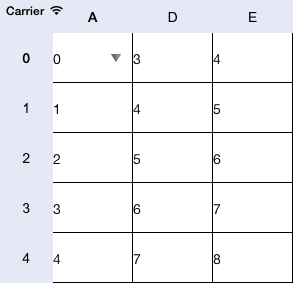
Align the expander by the right border of table cell by adding the following code to the example:
[[startCell style] setExpanderImageAlignment:NuImageHorizontalAlignmentRight];
After executing the example the expander is aligned at the right cell border:
Then remove expander alignment settings and remove the ability to use bold font style for parent cell text by adding the following strings to the example:
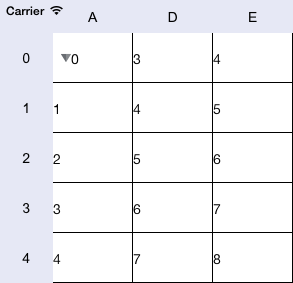
[headerStyle removeBoldForParent];
[[startCell style] removeExpanderImageAlignment];
After executing the example the expander is again aligned at the left border, and the parent cell text has regular font style:
See also: